
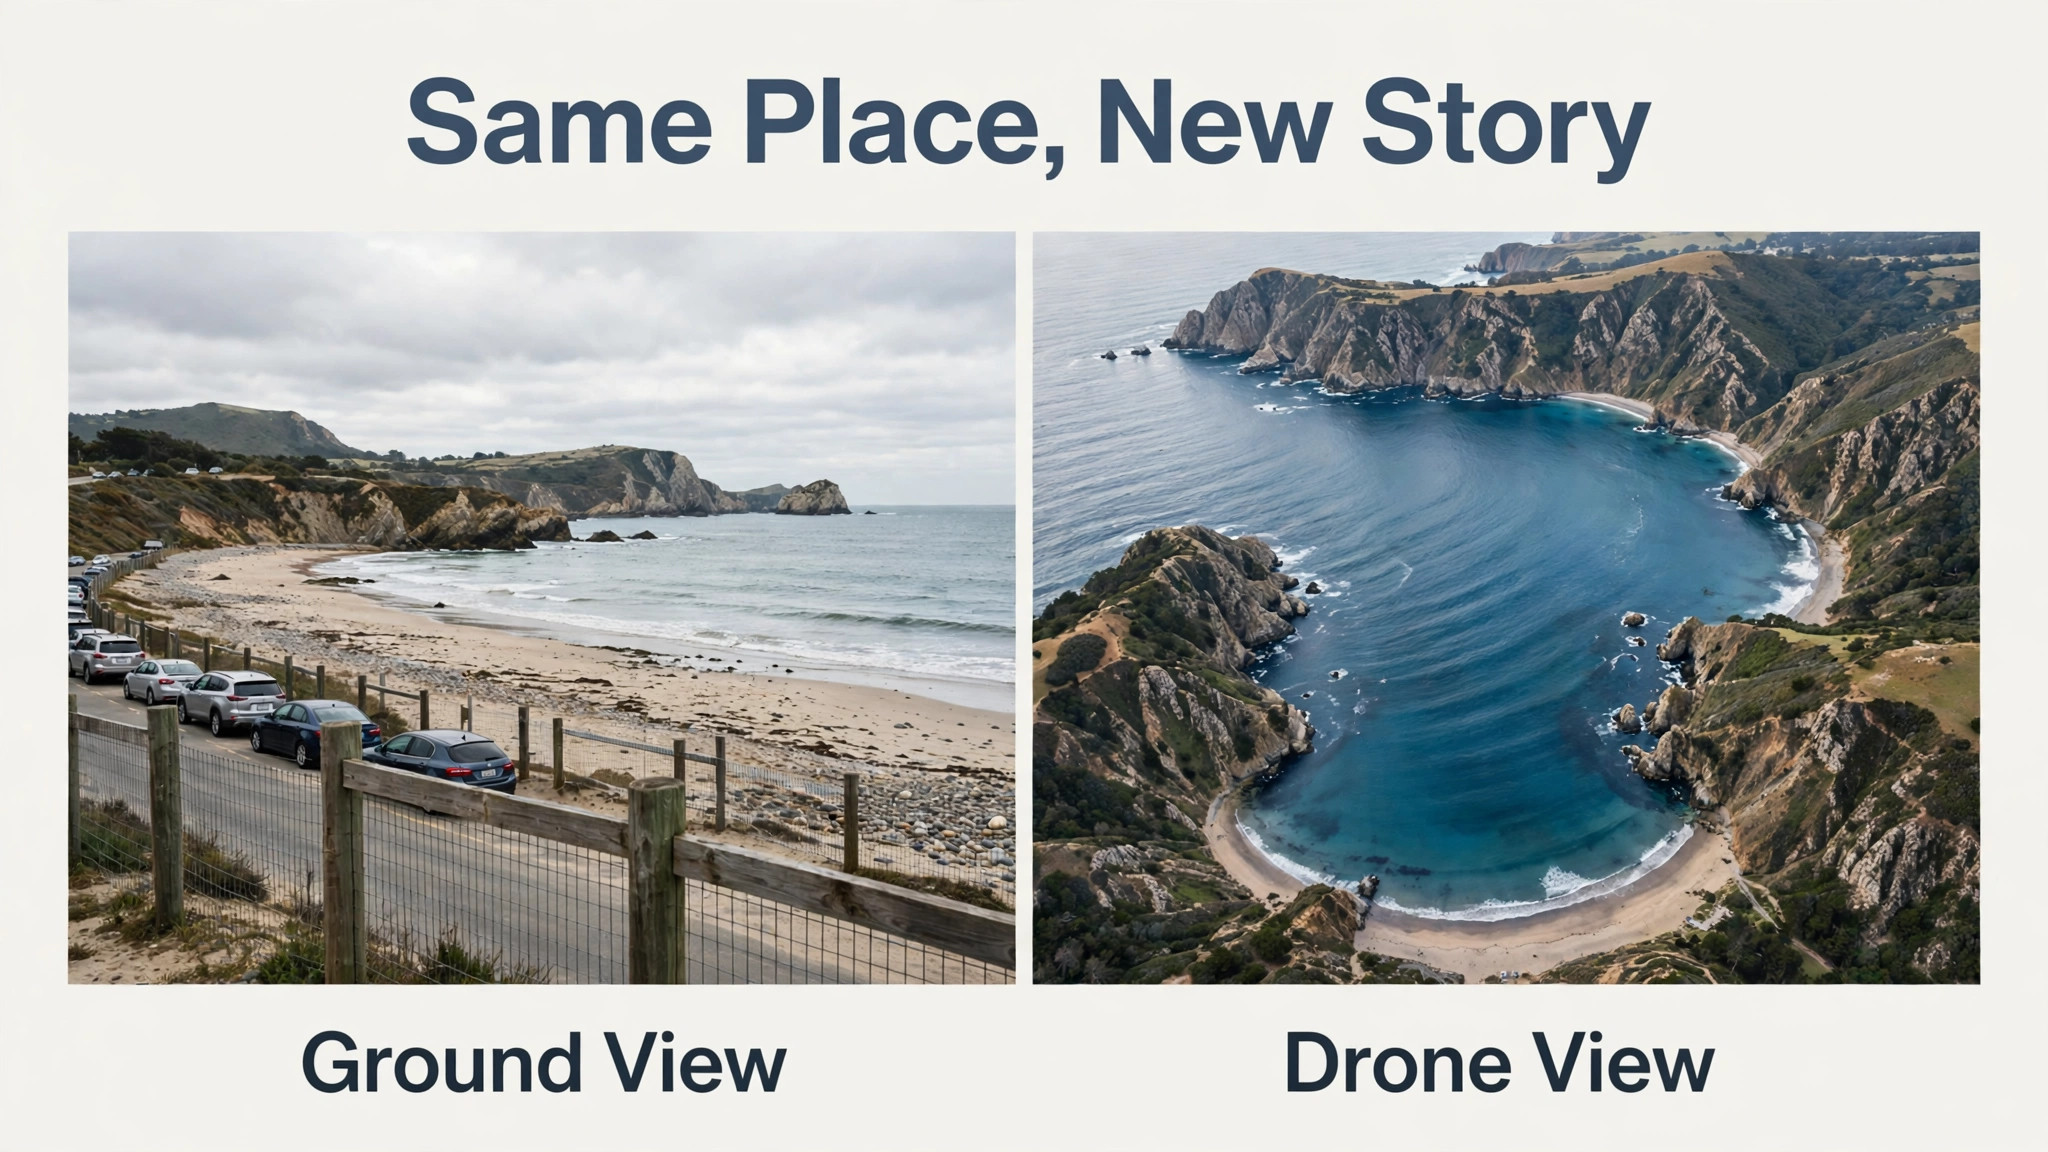
Most travellers come home with the same ground level photos everyone else took, standing in the same spot, at the same height, with the same foreground in the way. A drone changes that in one flight, because it adds height, distance and a sense of scale that a phone at eye level can never reach. When you use drone for travel landscape photos, you can show a whole coastline in one frame, a mountain road winding through a valley, or a temple complex in its full setting, and those wide views are the shots people stop to look at.
The United States Federal Aviation Administration sets a clear ceiling for recreational flights at 400 feet above ground level in uncontrolled airspace, and that limit still leaves a huge amount of room for strong travel photography, provided you plan each flight instead of launching on impulse.
This guide covers the full trip, from the rules to check before you fly, to a shot list that works in almost any destination, to camera settings that keep bright skies and dark ground in balance. It assumes you already own a drone or are about to buy one, and it focuses on still photos rather than video, because stills have different demands for height, overlap and light. You will also find a packing and battery plan, a list of common mistakes, and answers to the questions travellers ask most often before taking a drone abroad or on a road trip.
Why a Drone Changes Travel Photography
A photo taken from the ground shows what a place looks like from where you stand. A photo taken from a drone shows how a place fits together, and that difference matters most in wide open destinations. A beach looks pleasant from the sand, but from 60 feet up it becomes a pattern of water, sand and shade that tells a much richer story. A historic town looks like a row of buildings from the street, but from above, its roofs, courtyards and surrounding fields reveal a layout that took centuries to form. That sense of context is why drone stills perform so well in travel albums, blogs and prints, and why editors keep asking for them.
Height is only one advantage. Distance is the other. A drone lets you photograph a subject you cannot walk up to, such as a cliff face, a river bend, or a waterfall viewed from across a gorge, without putting yourself at risk. It also lets you remove clutter from a frame, because rising even 30 feet can lift the camera above parked cars, fences and crowds that ruin ground level shots. The result is cleaner composition, with fewer distractions competing for attention. For a traveller who wants one strong image per location rather than fifty average ones, that control over viewpoint is worth more than any filter or preset.
There is a trade off, and honest guides should name it. A drone adds weight, batteries, charging time and legal homework to every trip, and in some places it adds nothing at all, because flying is banned or the weather never cooperates. The smart approach is to treat the drone as one tool among several, not as the only camera you carry. Bring a phone or a compact camera for street scenes, markets and interiors, and reserve the drone for the handful of wide outdoor scenes where height genuinely improves the shot. Used that way, it earns its place in the bag instead of becoming an expensive distraction.
How to use drone for travel landscape photos on a Trip
The best way to use drone for travel landscape photos is to plan each location before you arrive, not after you land. For every place on your route, note one wide establishing shot, one detail shot that needs height, and one backup location in case the first site is crowded, windy or restricted. That three shot plan keeps flights short, which matters because a typical consumer drone battery gives you roughly 20 to 30 minutes in the air, and wind, cold and hovering all cut into that time. Short planned flights also mean fewer annoyed bystanders and less chance of drifting into restricted airspace while you search for a subject.
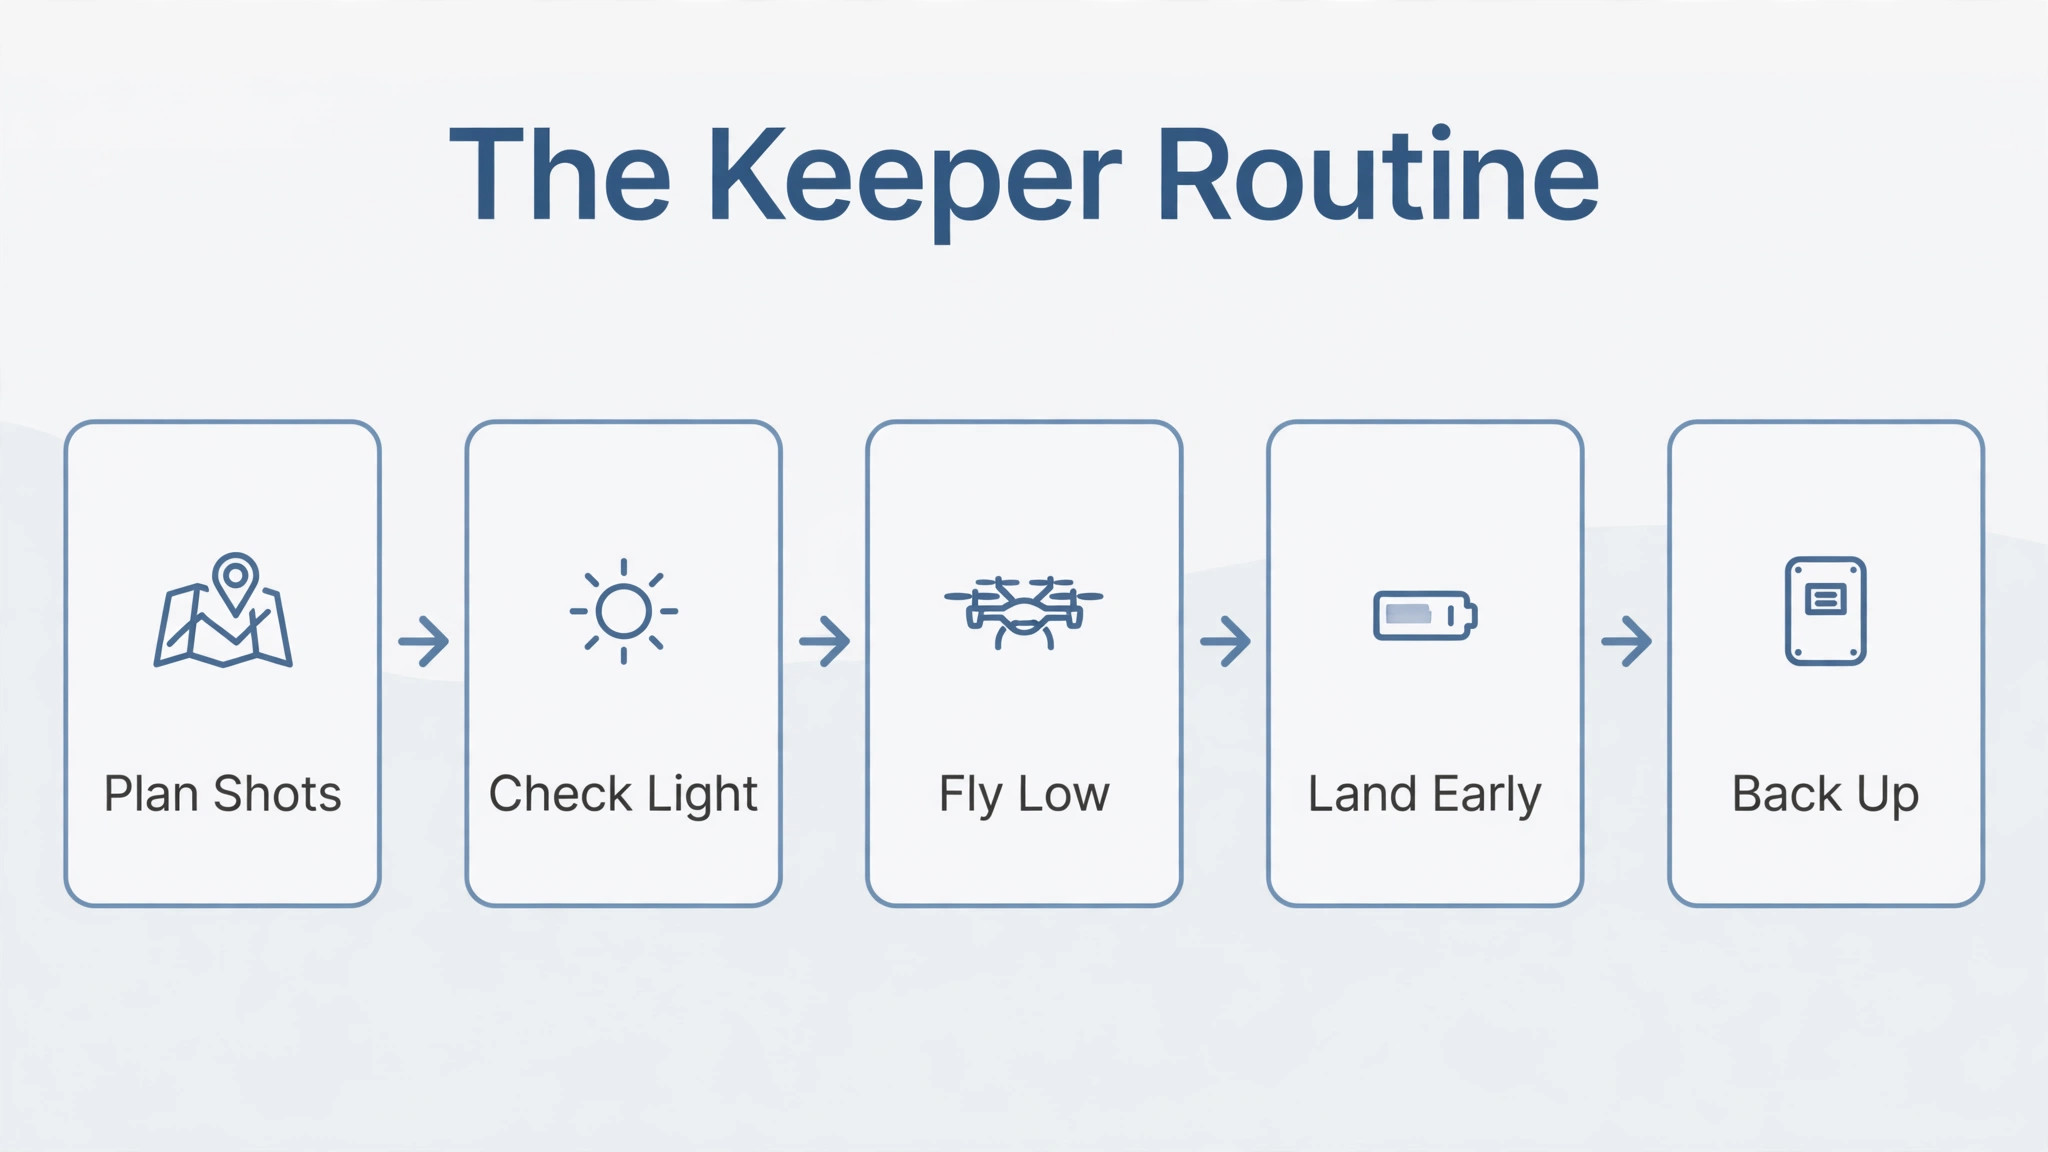
Start each flying day with a five minute check that never changes. Confirm the airspace for that location, check wind speed and gusts, check that your batteries are fully charged and that you have a landing spot clear of people, water and power lines. Calibrate the compass if the app asks for it, and take one test photo at low height to check exposure before climbing to your planned altitude. This routine sounds slow, but it prevents the two most common travel drone problems, which are a wasted battery on a badly exposed flight and a rushed launch in a place where flying was never allowed.
A traveller who follows the same routine every time will bring home more usable shots than a traveller who flies twice as often but never checks anything.
Light decides whether a drone still is good or merely high. Early morning and late afternoon give long shadows that reveal texture in fields, dunes and rooftops, while midday sun flattens everything and blows out bright sand, snow and water. Overcast light can actually help, because soft light evens out contrast and suits forests, towns and harbours. If you only have midday light, fly lower and look for strong shapes and colours rather than dramatic shadows, and shoot with the sun behind the drone where possible so the scene is evenly lit. One well lit flight beats three flights in harsh light, and patience about timing is the cheapest upgrade any drone photographer can make.
A Shot List That Covers a Whole Trip
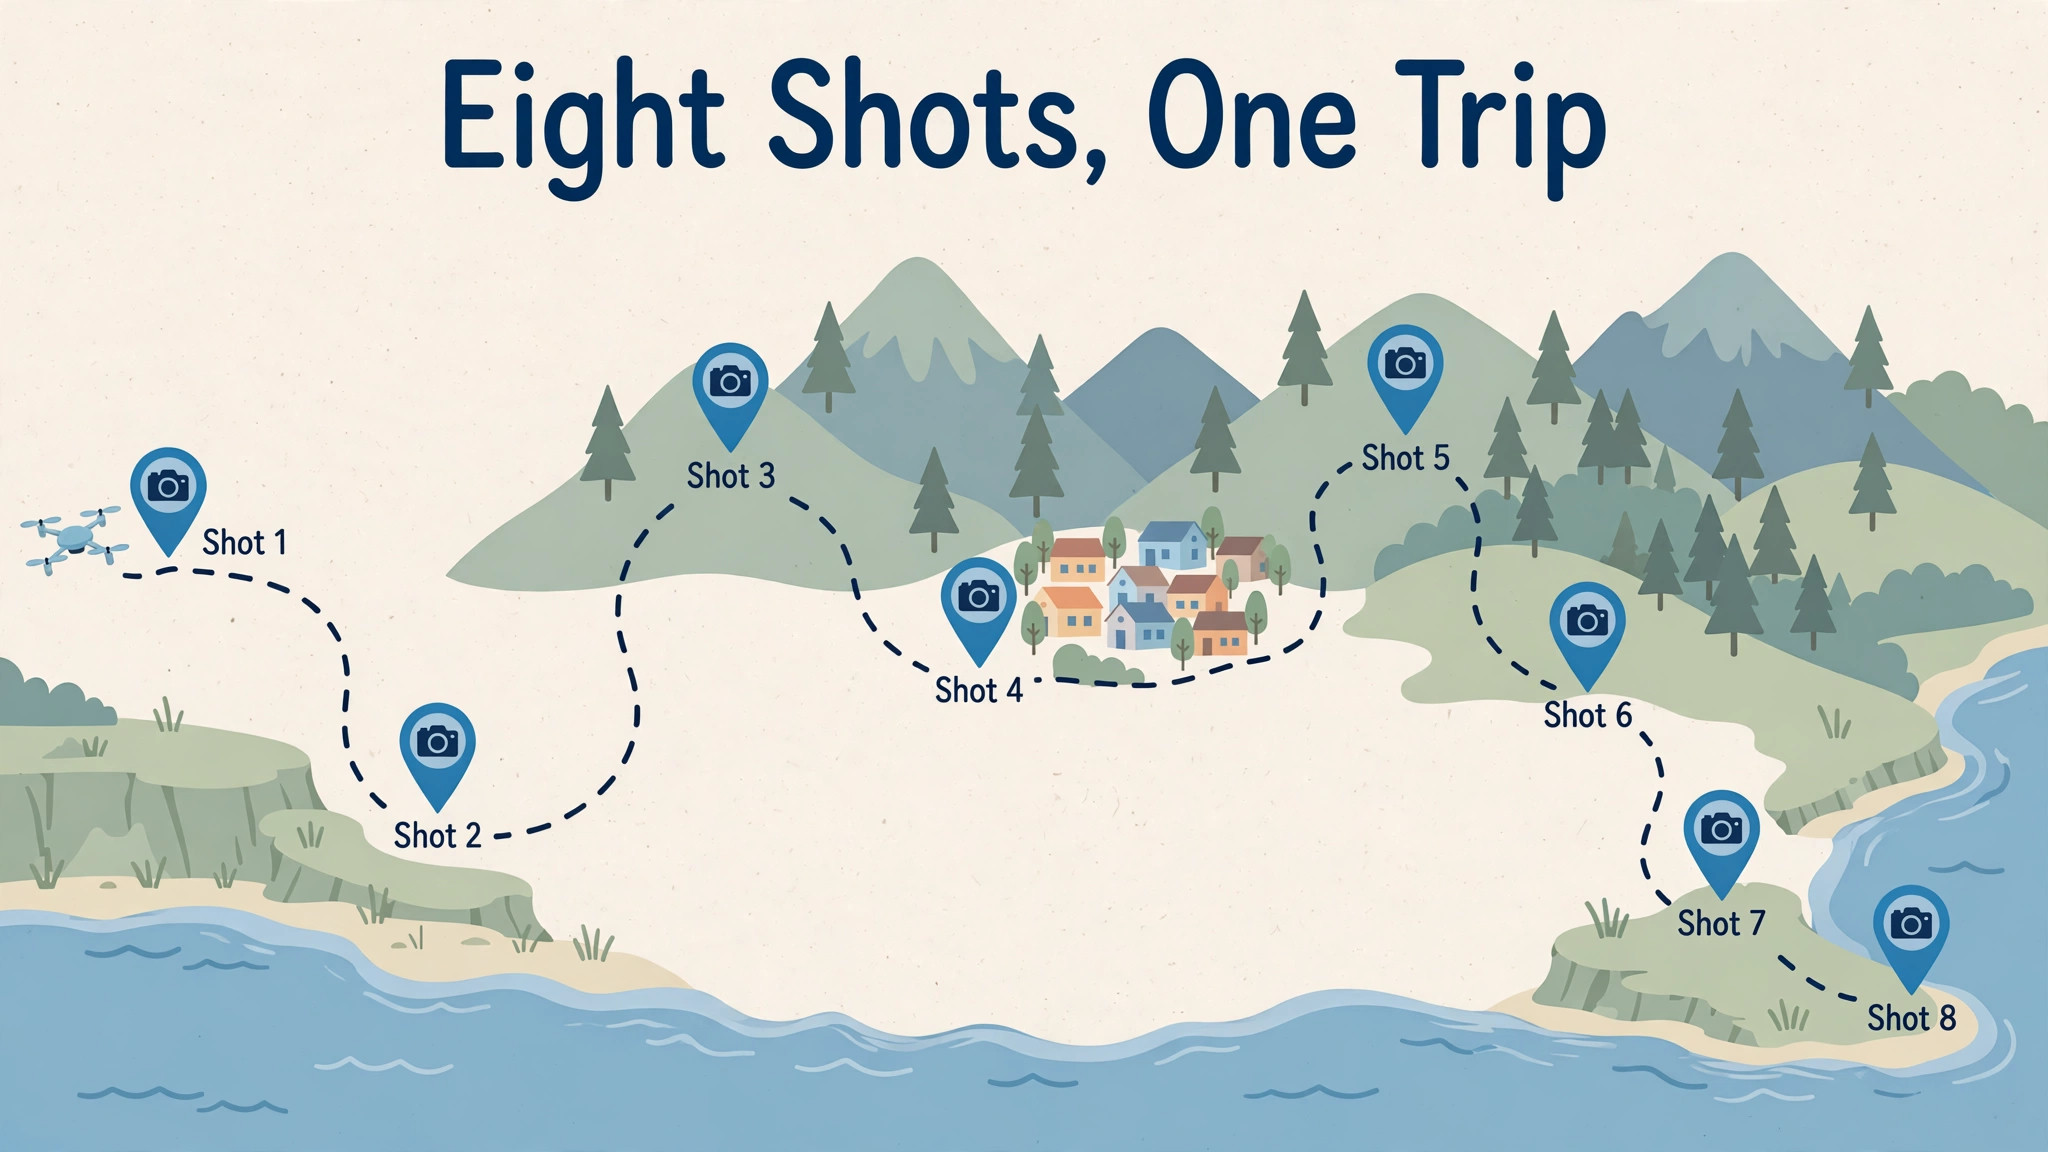
A shot list stops you from flying aimlessly and burning batteries on near identical frames. The table below gives eight shots that work in most destinations, with a starting height and a camera movement for each. Treat the heights as starting points, not rules, and always stay below the legal ceiling for your location and well clear of people, roads and other aircraft. If a shot does not fit the place you are in, skip it and use the battery on a second angle of a shot that does.
| Shot | Starting height | Camera approach | Best light |
|---|---|---|---|
| Wide establishing view | 200 to 300 feet | Slow forward push toward the subject | Early morning or late afternoon |
| Coastline or river bend | 100 to 150 feet | Gentle sideways pass along the water | Low sun for texture on water |
| Town or village overview | 150 to 250 feet | Slow orbit around the centre | Morning light on rooftops |
| Mountain road or valley | 250 to 350 feet | Follow the road line from above | Late afternoon side light |
| Beach pattern from above | 60 to 100 feet | Straight down view, slow drift | Mid morning for clear water colour |
| Historic site in context | 150 to 200 feet | Rise slowly while tilting down | Soft overcast or golden hour |
| Forest or field pattern | 100 to 200 feet | Straight down or slight angle | Overcast for even colour |
| Harbour or marina | 80 to 150 feet | Slow pass across moored boats | Early morning calm water |
Plan your flights around this list whenever you use drone for travel landscape photos, and you will waste fewer batteries. Work through the list in order of light, not in order of convenience. Shoot the wide establishing view first, while the light is best, then move to lower detail shots as the sun changes. Take at least three frames of each shot with small changes in height and angle, because a difference of 20 feet can change a good composition into a great one. When you review photos in the evening, keep only the strongest frame from each setup and delete near duplicates, so your album stays tight and your editing time stays short.
A trip with eight strong drone stills beats a trip with eighty similar ones, and a shot list is what makes that selection possible.
Rules to Check Before Every Flight
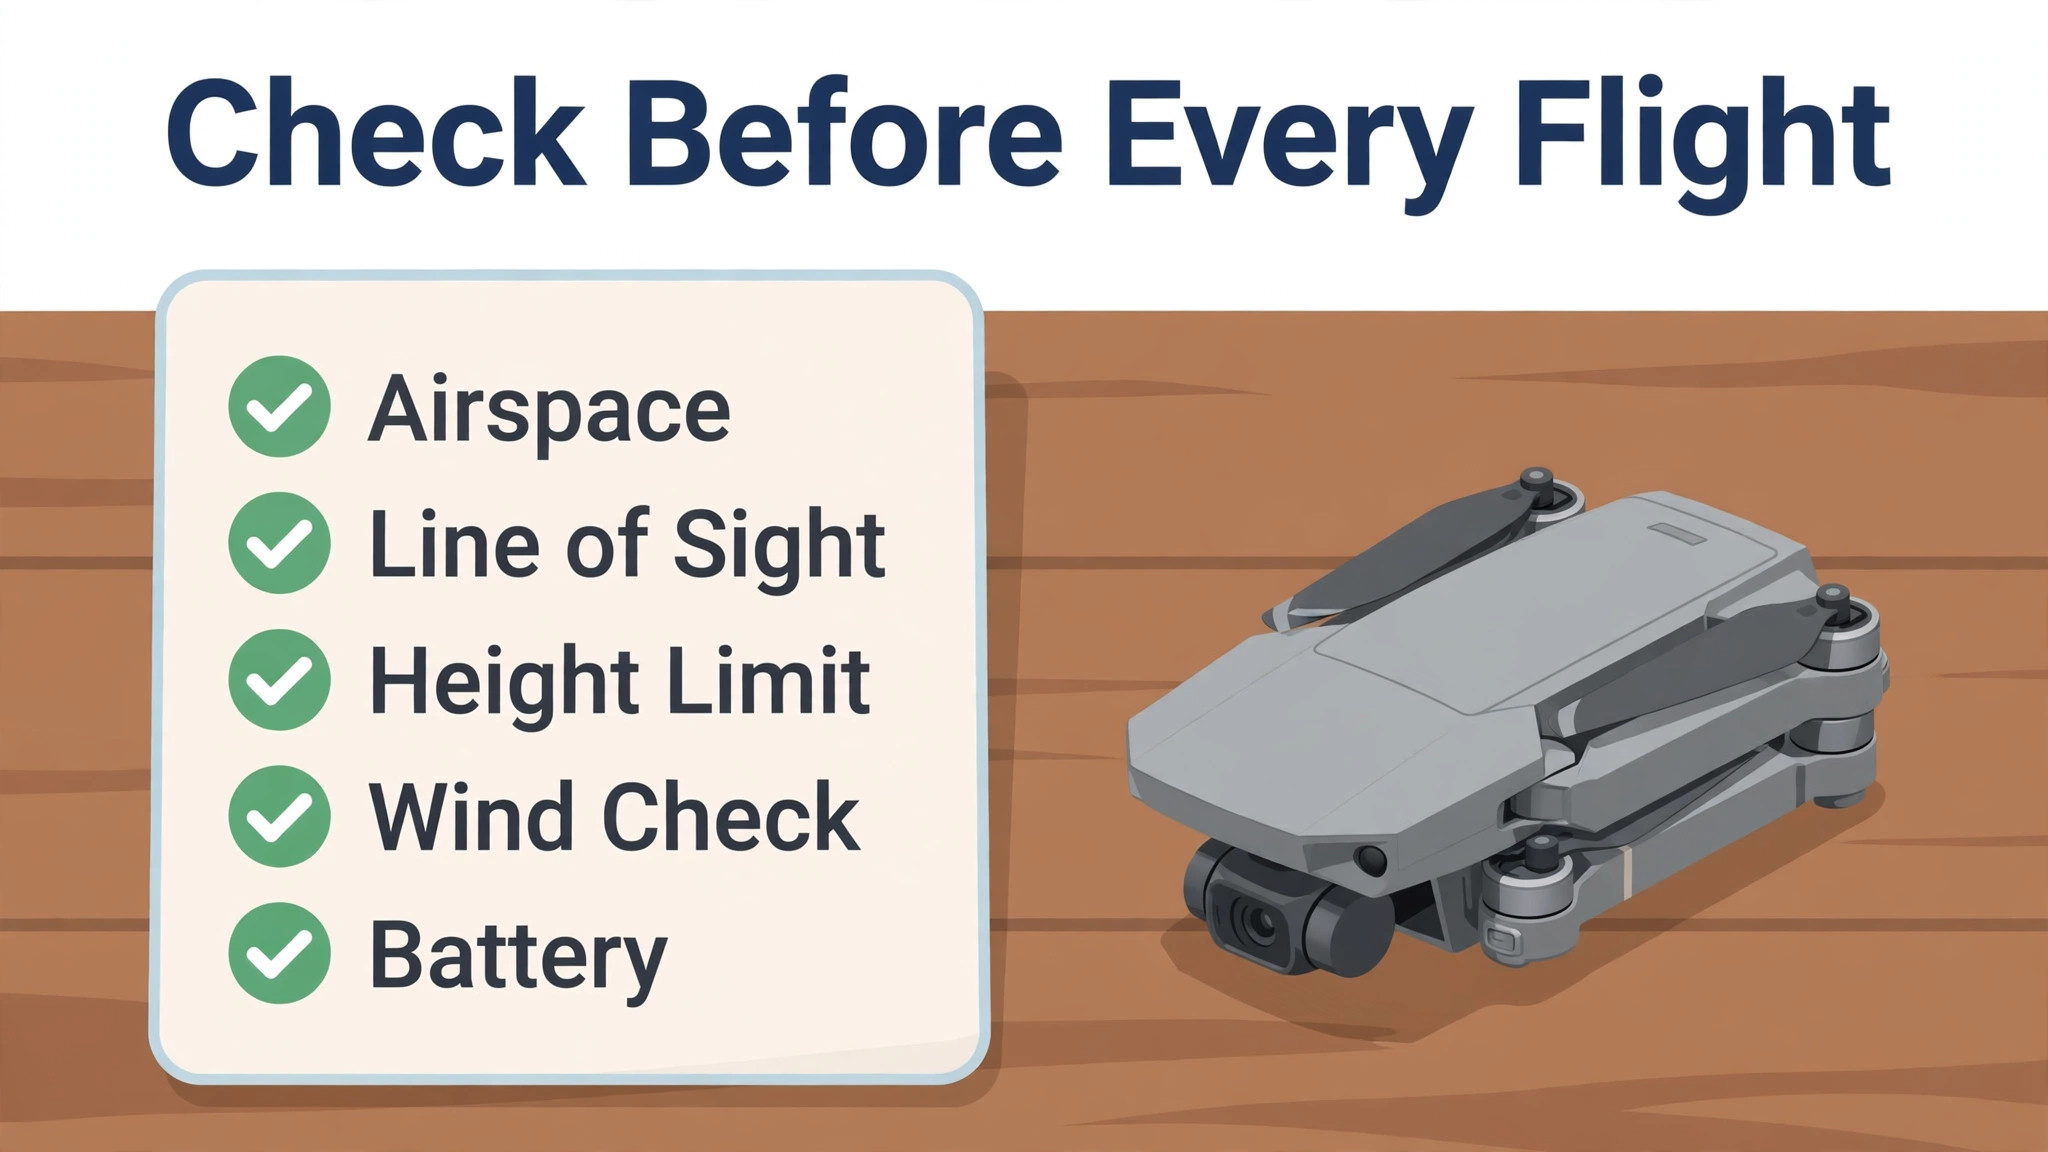
Rules are the least exciting part of drone travel photography, and they are also the part that protects your trip. In the United States, recreational flyers must keep the drone within visual line of sight, fly at or below 400 feet in uncontrolled airspace, give way to other aircraft, and complete the free Recreational UAS Safety Test known as TRUST, carrying proof of passage when flying. Drones that require registration must be registered, marked on the outside with the registration number, and must broadcast Remote ID information unless flown within a recognised identification area. These are the published Federal Aviation Administration rules for recreational flyers, and they apply even when you are only taking photos for personal use.
Other countries have their own systems, and some popular destinations ban drones entirely in national parks, near airports, or in whole regions. Check the aviation authority for each country on your route before you travel, not at the airport, and save the relevant pages offline, because you may not have a connection at the flying site. Also check local rules for parks, beaches and heritage sites, which can be stricter than national rules. If a location is unclear, do not fly there. A missed shot costs nothing, while a fine, a confiscated drone or a confrontation with local authorities can spoil a whole trip.
Use this rules checklist before every flight, and run through it even at places that look empty.
- Confirm the airspace for the exact location, including any temporary restrictions for events or emergencies.
- Confirm that drones are allowed at that specific park, beach or heritage site, not just in the country generally.
- Keep the drone within your own visual line of sight at all times, without relying only on the screen.
- Stay at or below the legal altitude ceiling for the area, and lower if other aircraft are nearby.
- Never fly over crowds, moving traffic, emergency operations or sensitive sites.
- Keep clear of airports and controlled airspace unless you hold the proper authorisation for that area.
- Carry proof of registration and test passage where required, and keep the drone marked as required.
- Check wind, rain and temperature, and do not fly in gusts that push the drone around.
- Tell anyone nearby what you are doing if they ask, and land promptly if people become uncomfortable.
- Review the photos after landing and note any rule you were unsure about, so the next flight is cleaner.
When you use drone for travel landscape photos, the checklist is not paperwork for its own sake. It is what lets you fly with confidence in a new place, enjoy the flight, and come home with photos you can publish without worrying about how they were taken.
Camera Settings That Keep Scenery Sharp
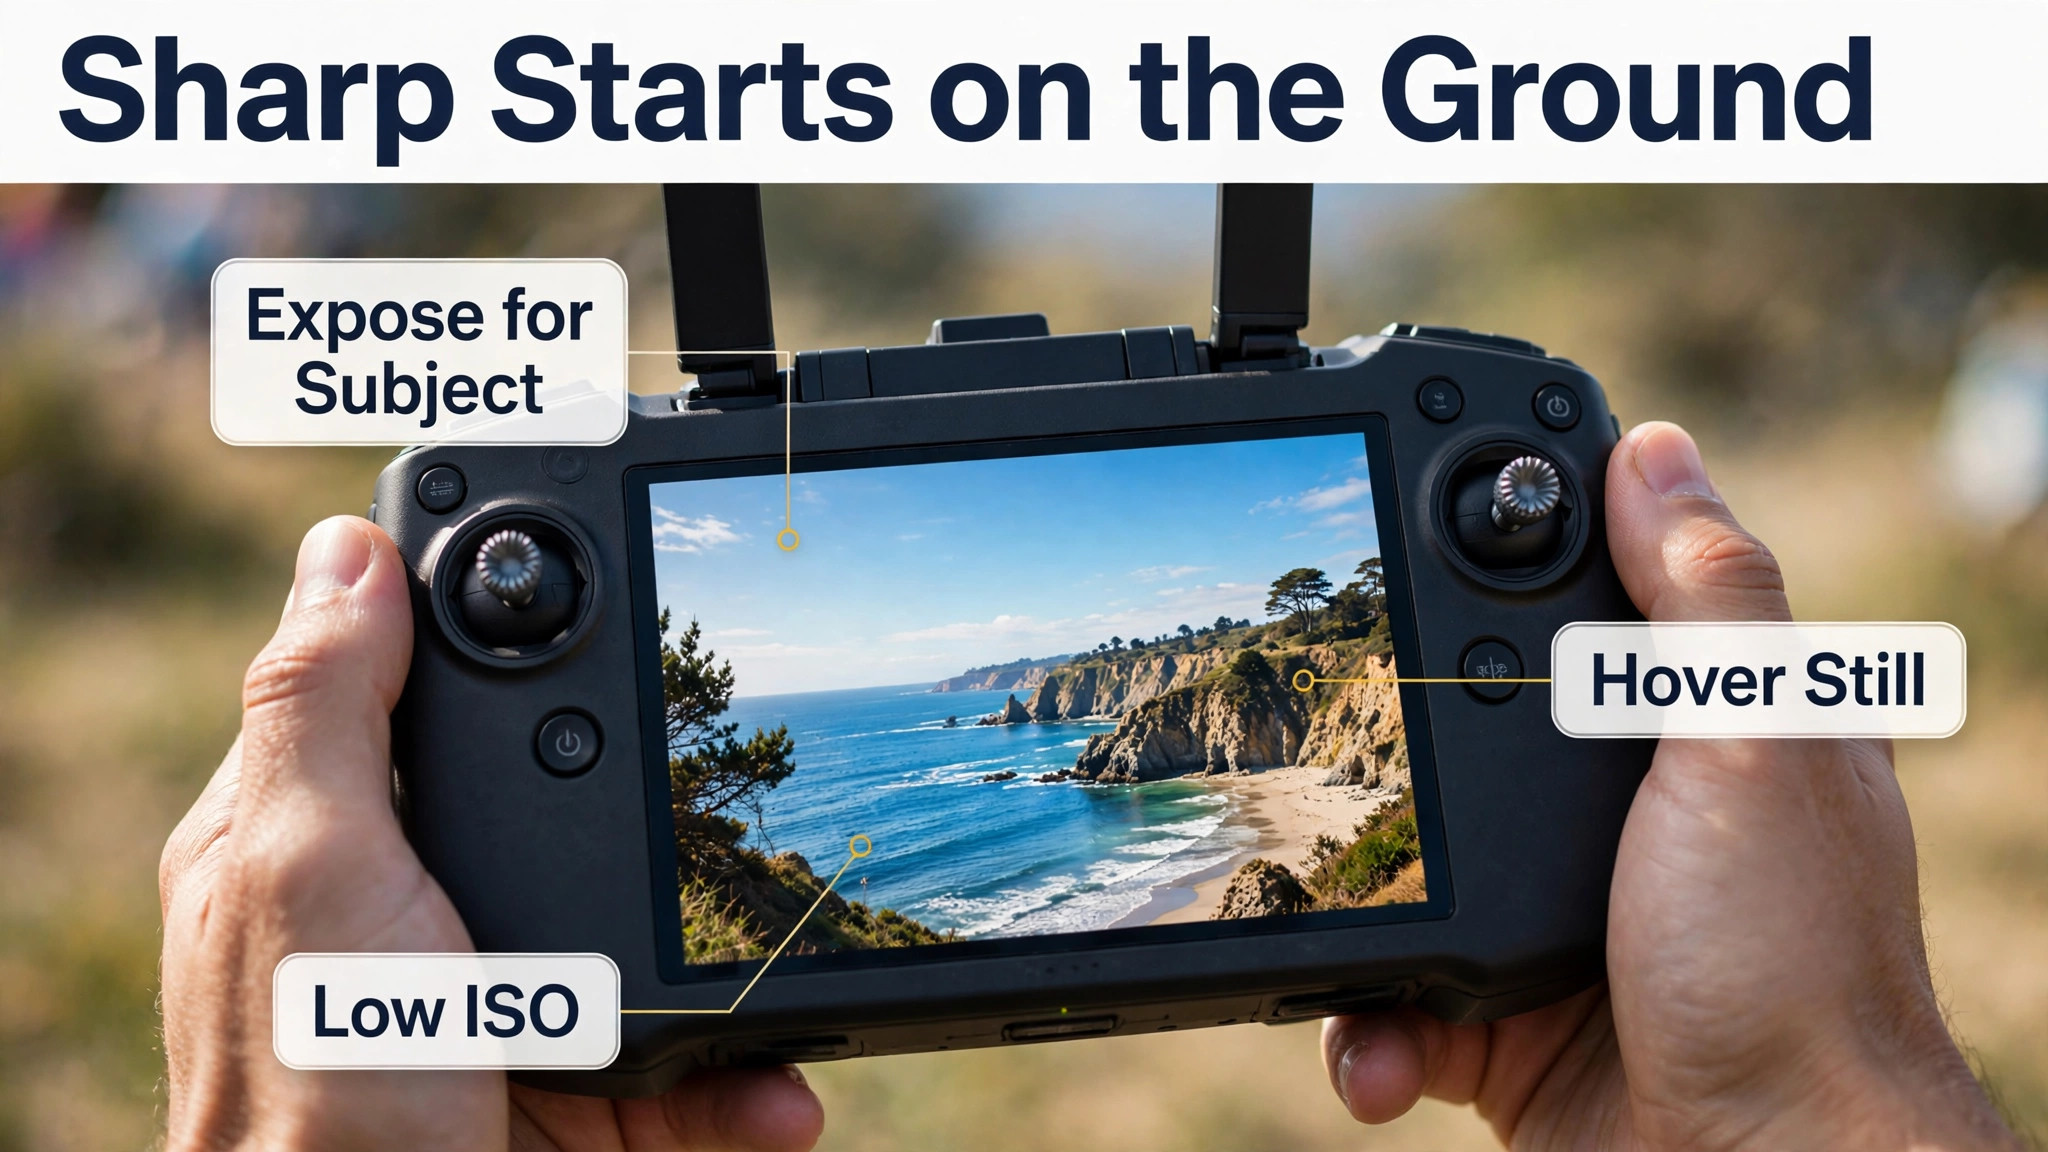
Most travel drone photos fail for boring technical reasons, not for lack of a good subject. The camera moves, the shutter speed is too slow for the wind, or the exposure is set for the sky while the ground goes black. Start with the simplest reliable setup. Shoot stills in the highest resolution your drone offers, use single shot mode rather than burst for composed frames, and keep the ISO as low as the light allows, because high ISO noise is much harder to clean up in a wide outdoor scene than a slightly dark exposure.
If your drone offers a RAW photo option, use it for your most important shots, because RAW files hold far more detail in bright skies and dark shadows than compressed files do.
Exposure needs a deliberate choice in every flight. Tap to expose for the most important part of the scene, then check the result at low height before climbing. If the sky is blown out to pure white, reduce exposure slightly and accept a darker foreground, which you can lift later in editing, rather than losing sky detail that cannot be recovered. If the scene has extreme contrast, such as bright sand against dark cliffs, take two or three frames at different exposures and blend them later, or accept a compromise exposure that keeps both ends readable.
Auto exposure works well in even light, but in mixed light it will often chase the brightest area and ruin the shot you actually wanted.
Sharpness also depends on how you fly, not only on camera settings. Hover fully still for a second before taking the shot, avoid shooting while the drone is turning, and keep movements slow and smooth between frames. Wind is the hidden enemy of sharp drone stills, because even a stable drone vibrates slightly in gusts, and that vibration softens fine detail in trees, rooftops and water. If gusts are strong, fly lower, where the drone works less hard, or wait for a calmer window. That patience pays off whenever you use drone for travel landscape photos in wind.
A sharp photo from 100 feet beats a soft photo from 300 feet every time, and no editing tool fully repairs motion blur in a wide scene.
- Shoot at the highest still resolution, and use RAW for key shots where your drone supports it.
- Keep ISO low in daylight, and accept a slower shutter only when the drone is fully stable.
- Expose for the main subject, then check the sky and shadows before committing to a full flight.
- Take bracketed exposures in high contrast scenes, such as bright coastlines and dark valleys.
- Hover and pause before each shot, and never shoot mid turn or during a fast climb.
- Use a lens cloth before the flight, because dust and moisture on a small lens ruin wide shots.
Mistakes That Ruin Drone Travel Shots
The first mistake is flying too high for every shot. Height feels impressive, but beyond a certain point a scene turns into a flat pattern with no sense of depth, and the photo looks like a satellite view rather than a travel image. The fix is simple. Start low, climb in stages, and take a frame at each stage, so you can compare later and learn which height suits each kind of place. Most strong travel drone stills are taken between 60 and 250 feet, not at the legal ceiling, because that range keeps foreground, subject and background in a natural relationship.
The second mistake is ignoring the foreground. A drone photo still needs composition, and a frame with only distant scenery feels empty, no matter how beautiful the place is. Include a road, a shoreline, a tree line or a building in the lower part of the frame to give the eye a way in, and use leading lines such as rivers, paths and coastlines to guide attention toward the main subject. The third mistake is shooting only in harsh midday light, which flattens texture and washes out colour. If midday is your only window, look for water, forests and towns where colour and shape carry the image, and save open fields and deserts for softer light.
The fourth mistake is poor battery discipline. Travellers often fly until the low battery warning appears, then rush a landing in a bad spot or lose the drone over water. Plan each flight to land with at least a third of the battery remaining, and treat that reserve as untouchable except in a genuine emergency. The fifth mistake is forgetting the ground photos that give a trip its story. A drone album with no people, food, streets or details feels cold, even when the wide shots are excellent. Shoot the place from the ground as well, and let the drone shots act as chapter headings in a fuller album, not as the whole book.
Review every flight the same evening when you use drone for travel landscape photos, and note which heights worked best at each kind of place.

Batteries, Packing and Backup on the Road
A drone trip lives or dies on power planning. Carry at least three batteries for a full day of shooting, and charge them the night before, because finding a suitable charging point in the field is rarely simple. Keep batteries in a padded case, away from extreme heat and cold, and never charge a hot battery straight after a flight. Let it cool first, and check for swelling or damage before every trip. If you fly in cold weather, keep spare batteries close to your body until you need them, because cold reduces usable flight time noticeably, and a battery that promises 25 minutes in warm weather may give far less on a cold mountain morning.
Packing matters more than most travellers expect, because drone rules for air travel differ from rules for flying at a destination. Lithium batteries usually travel in cabin baggage, not checked baggage, and airlines set limits on battery size and number, so check your airline’s rules before you pack and keep batteries in protective cases or covers. Pack the drone itself in a case that protects the camera gimbal, which is the most fragile part, and carry the controller, cables and a lens cloth in the same bag so a single forgotten cable does not end a day’s shooting.
A small landing pad helps on sand, dust and wet grass, and a set of spare propellers weighs almost nothing and can save a trip after a minor knock.
Backup is the final habit that separates careful travellers from unlucky ones. Copy photos to a second device or drive every evening, and do not format memory cards until you have two copies of the best shots. A portable solid state drive is a practical travel backup, because it is fast, small and has no moving parts to fail on rough roads. When you use drone for travel landscape photos with a proper backup routine, a lost card or a damaged drone becomes an annoyance rather than a disaster, and you return home with the trip intact even if the hardware does not survive it.
Weather apps and local knowledge deserve a place in the same routine, because a forecast alone rarely tells the full story at a coastal cliff or a mountain pass. Check wind forecasts from two sources the evening before a planned flight, and compare them in the morning, because a single source can miss local gusts caused by terrain. Talk to hotel staff, guides or other photographers about places where wind funnels through valleys or where sea breezes strengthen suddenly in the afternoon, because that local detail often matters more than a regional forecast.
If the forecast is borderline, plan a shorter test flight at low height first, and be ready to land and try again later rather than pushing a full flight in worsening conditions. Keep a note of which locations were calm at which times of day, because on a longer trip that note becomes a personal guide to the best flying windows, and it helps you plan return visits with far less wasted battery and waiting around. A traveller who respects wind and light together will bring home fewer flights but far more keepers, and that trade is always worth making.
Insurance and repair planning also belong in a serious travel drone kit, even though few travellers think about them until something goes wrong. Check whether your travel insurance covers a drone, what it excludes, and whether you need to declare the drone and its value separately, because many standard policies treat drones as excluded sports equipment or limit payouts sharply. Carry the drone maker’s support details and a note of the nearest authorised repair point on a longer route, and keep proof of purchase with your travel documents, because customs and repair desks both ask for it.
If a propeller, gimbal part or battery fails abroad, a small stock of spares and a clear idea of where to get help can save days of a trip, while a traveller with no spares and no plan may lose the drone for the rest of the journey.

More Reading on Stratilyze
If this guide helps you plan a drone trip, the wider Stratilyze guides cover the gear around it. The guide to drone photos for property work explains low altitude framing that also helps travel shots, the guide to travel vlogging with a GoPro covers ground level footage to pair with wide stills, and the guide to photo backup on a portable drive shows a backup routine that works on the road. Read the backup guide first if you have ever lost a memory card, because a good shot list means little without a safe copy.
Frequently Asked Questions
Do I need a licence to use drone for travel landscape photos?
In the United States, recreational flyers do not need a pilot licence, but they must pass the free TRUST safety test, follow recreational rules, and register drones that require registration. Other countries have their own tests, registration systems and age rules, so check the aviation authority for each destination before you travel. Commercial work, such as selling photos or flying for a client, usually needs a separate certificate, so confirm the category your trip falls into before you fly.
What is the maximum height for recreational drone photos?
In uncontrolled airspace in the United States, recreational flyers must stay at or below 400 feet above ground level, and lower limits apply in controlled airspace near airports unless proper authorisation is held. Many strong travel shots are taken well below that ceiling, between 60 and 250 feet, where foreground and background still relate naturally. Always check the limit for your exact location, because local rules, parks and temporary restrictions can be stricter than the national ceiling.
Can I take a drone on a plane for a travel photography trip?
Yes, in most cases, but batteries are the part to check carefully. Lithium batteries usually go in cabin baggage, airlines limit battery size and quantity, and the drone itself needs protection for its camera gimbal. Check your airline’s dangerous goods page before packing, keep batteries in protective cases, and carry the controller and cables in the same bag. Rules vary by airline and country, so confirm both ends of the journey, not just the outbound flight.
Why do my drone photos look soft or washed out?
Soft photos usually come from wind vibration, shooting while turning, or a shutter speed too slow for the conditions, while washed out photos usually come from harsh midday light or exposure set for the brightest sky. Hover fully still before each shot, fly lower in wind, expose for the main subject, and prefer early morning, late afternoon or overcast light. Shooting RAW for key frames also helps, because it preserves far more detail in bright skies and dark ground than a compressed file.
How many batteries do I need for a day of travel drone photography?
Three batteries is a practical minimum for a full day, because each battery gives roughly 20 to 30 minutes of flight time in good conditions, and wind, cold and hovering all reduce that figure. Charge all batteries the night before, plan flights to land with at least a third of the battery remaining, and keep spares warm in cold weather. If you plan more than a few locations in one day, four batteries and a car charger give a much more comfortable margin.
Is it better to shoot photos or video from a drone while travelling?
Photos suit travellers who use drone for travel landscape photos and want strong single images for albums, prints and blogs, because each frame can be composed, exposed and edited with care. Video suits travellers who want to show movement, such as waves, traffic or a journey along a road, but it needs far more battery, storage and editing time. Many travellers do best with a mix, using short planned photo flights for the key views and reserving video for one or two scenes where motion genuinely adds something a still cannot show.
The Short Verdict for Travel Drone Photos
A drone earns its place on a trip when it is used for a small number of planned wide shots, not for constant flying. Pick one establishing view per location, check the rules and the light before you launch, fly low enough to keep depth in the frame, and land with battery to spare. That discipline produces a tight set of images that ground level cameras cannot match, without turning the trip into a technical exercise. Pack spare batteries, back up every evening, and let the drone shots open each chapter of your album while your ground level photos tell the rest of the story. Travel with that balance, and the drone becomes a reliable tool rather than a gamble.