
The first 48 hours after a client signs set the tone for the whole relationship, and a short, clear packet sent in that window can replace a week of scattered emails, missed attachments, and repeated questions. That is the practical reason to learn how to create a client welcome packet small business clients actually read, rather than a long brochure that sits unopened in an inbox. A good packet does one job well. It tells the client what happens next, who to contact, what you need from them, and when they will hear from you again.
Most new-client confusion is predictable. Clients ask when work starts, who their main contact is, how to send files, how feedback works, when invoices arrive, and what happens if plans change. When those answers live in five different emails, the client has to hunt for them, and your team has to answer the same questions again for every new account. A welcome packet puts the answers in one place, in the order the client needs them, and it gives your team a single document to point to instead of rewriting explanations from scratch.
A welcome packet is not a sales document. The sale is already won. The packet is an operations document with a friendly tone, and that distinction shapes every choice in it. Sales copy promises outcomes. A welcome packet explains process, sets boundaries, and makes the first week easy. If a section does not help the client take a next step or avoid a common mistake, it does not belong in the packet, no matter how impressive it sounds.
What a Welcome Packet Is and What It Is Not
A welcome packet is the first working document of the relationship. It confirms what was agreed, introduces the people who will do the work, explains how communication will run, and lists the first actions for both sides. It can be a short PDF, a web page, or a shared document, and the format matters less than the clarity. What matters is that the client can find an answer in under a minute, without asking you.
It is not a contract, and it should not try to be one. That distinction shapes how to create a client welcome packet small business owners trust. Keep legal terms in the contract and the signed proposal, and keep the packet focused on how the work will run day to day. If the packet repeats contract language word for word, clients stop reading, and the useful parts get buried. A short line that points to the contract for full terms is enough, and it keeps the packet short.
It is also not a complete training manual. New clients do not need every detail of your internal process on day one. They need the parts that affect them, which are start dates, contacts, deliverables, feedback rounds, payment timing, and the single first task you need from them. Internal detail can live in your own onboarding checklist, not in the client-facing packet.
The test for every page is simple. Ask whether a busy client who opens the packet on a phone can understand it in two minutes and know what to do next. If the answer is no, the packet needs cutting, not more design. Length is not proof of care. Clarity is.
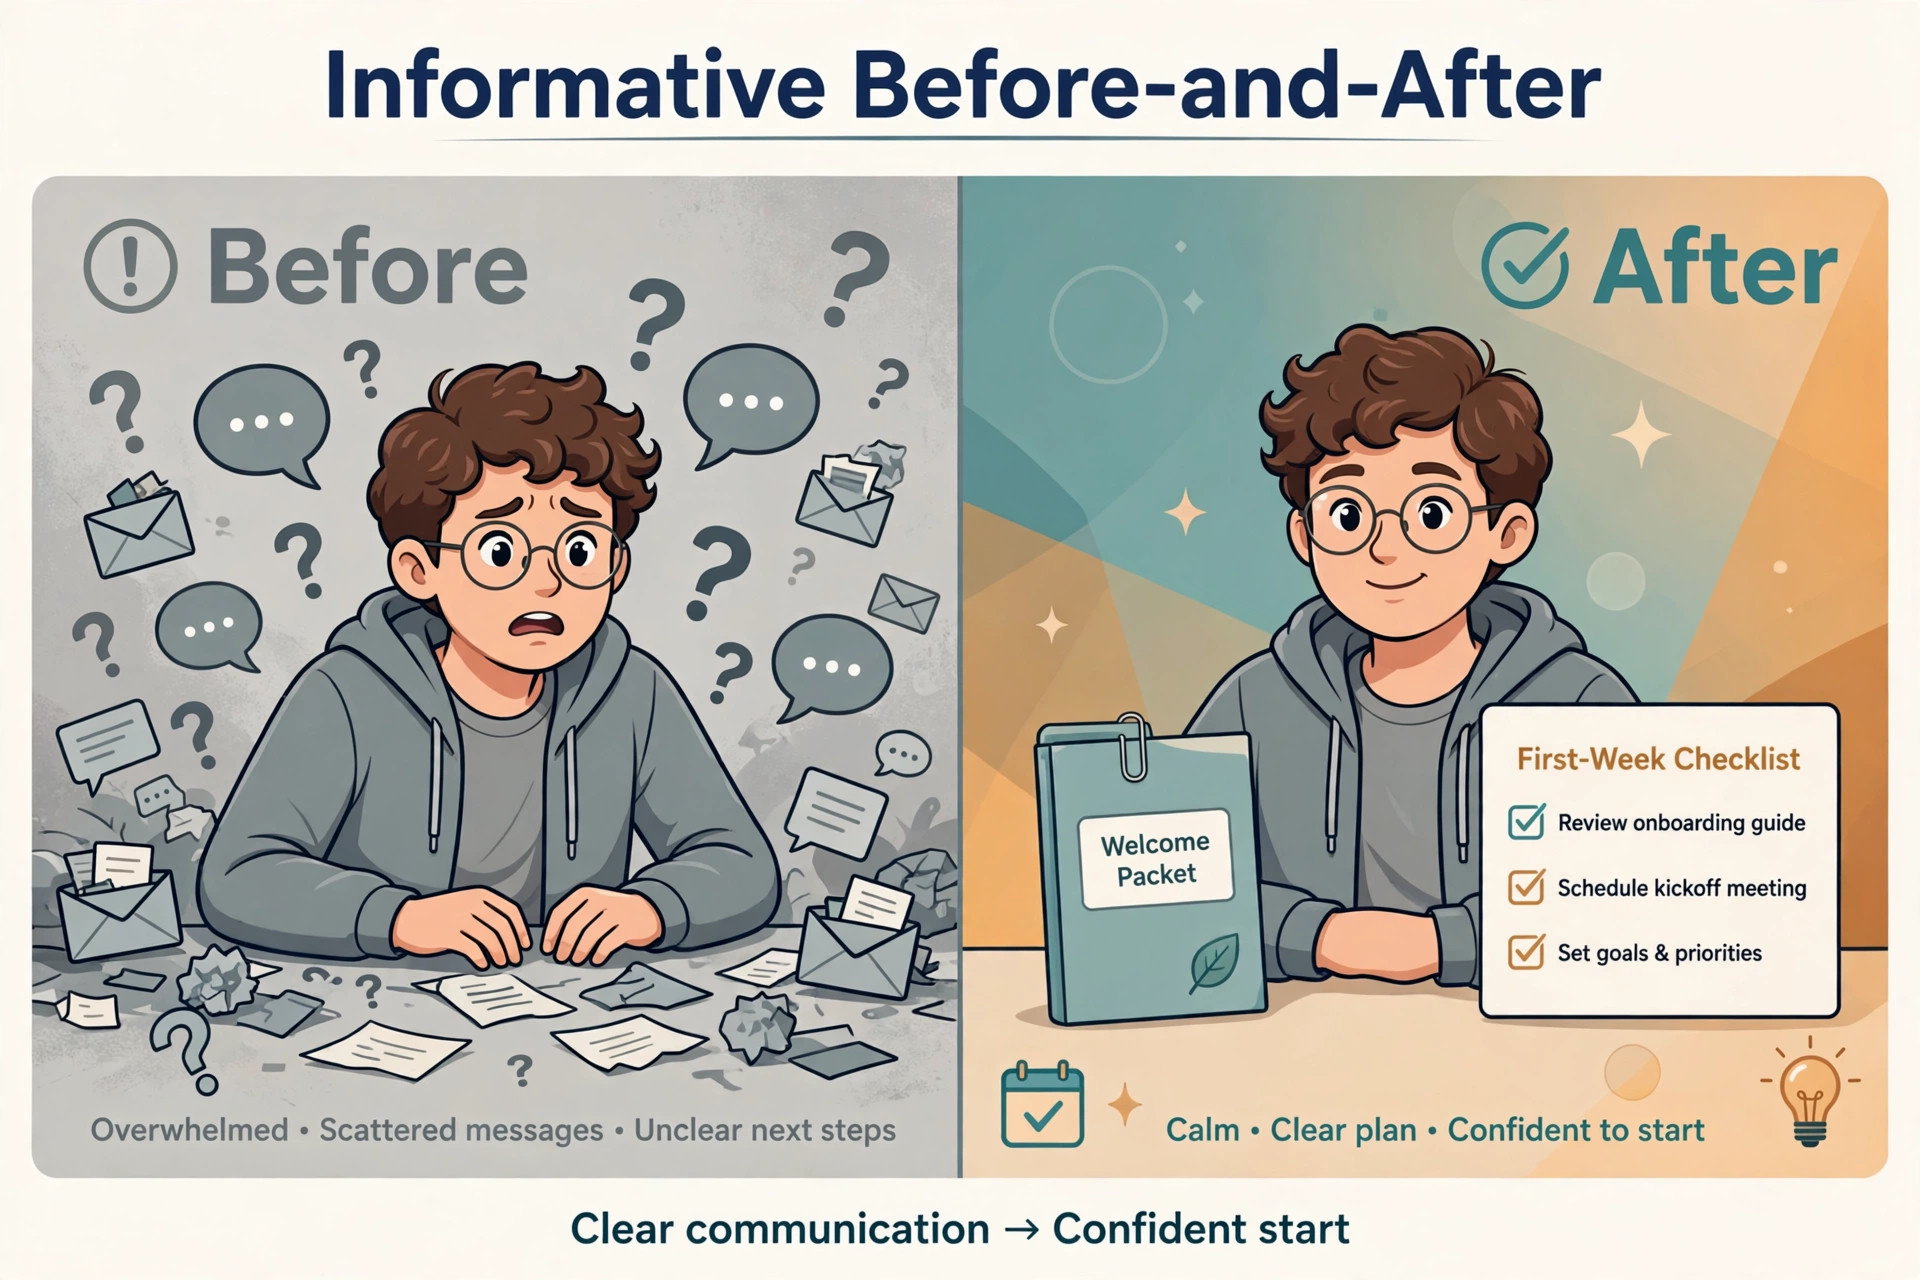
The Eight Sections Every Strong Packet Needs
A packet that covers eight sections will answer nearly every first-week question without turning into a manual. These eight sections are the backbone of how to create a client welcome packet small business teams can reuse for every new account. The sections below are the core of the template later in this guide, and each one earns its place by preventing a specific kind of confusion.
The welcome note comes first, and it should be short and personal. Two or three sentences that name the client, name the work, and express genuine enthusiasm are enough. A generic welcome letter that could belong to any client signals that the packet is a template, and clients notice. Personalise the first lines, even if the rest of the packet is standard.
The second section is the people section. Name the main contact, say what that person handles, and give one reliable way to reach them. Add a second contact for urgent matters or for billing, if those sit with different people. Clients who do not know who to contact will email everyone, and that slows your whole team down.
The third section is the scope reminder. Restate the agreed deliverables, the start date, and the first milestone in plain language. This is not the place to renegotiate scope. It is the place to confirm it, so both sides start from the same understanding and small scope questions get settled early.
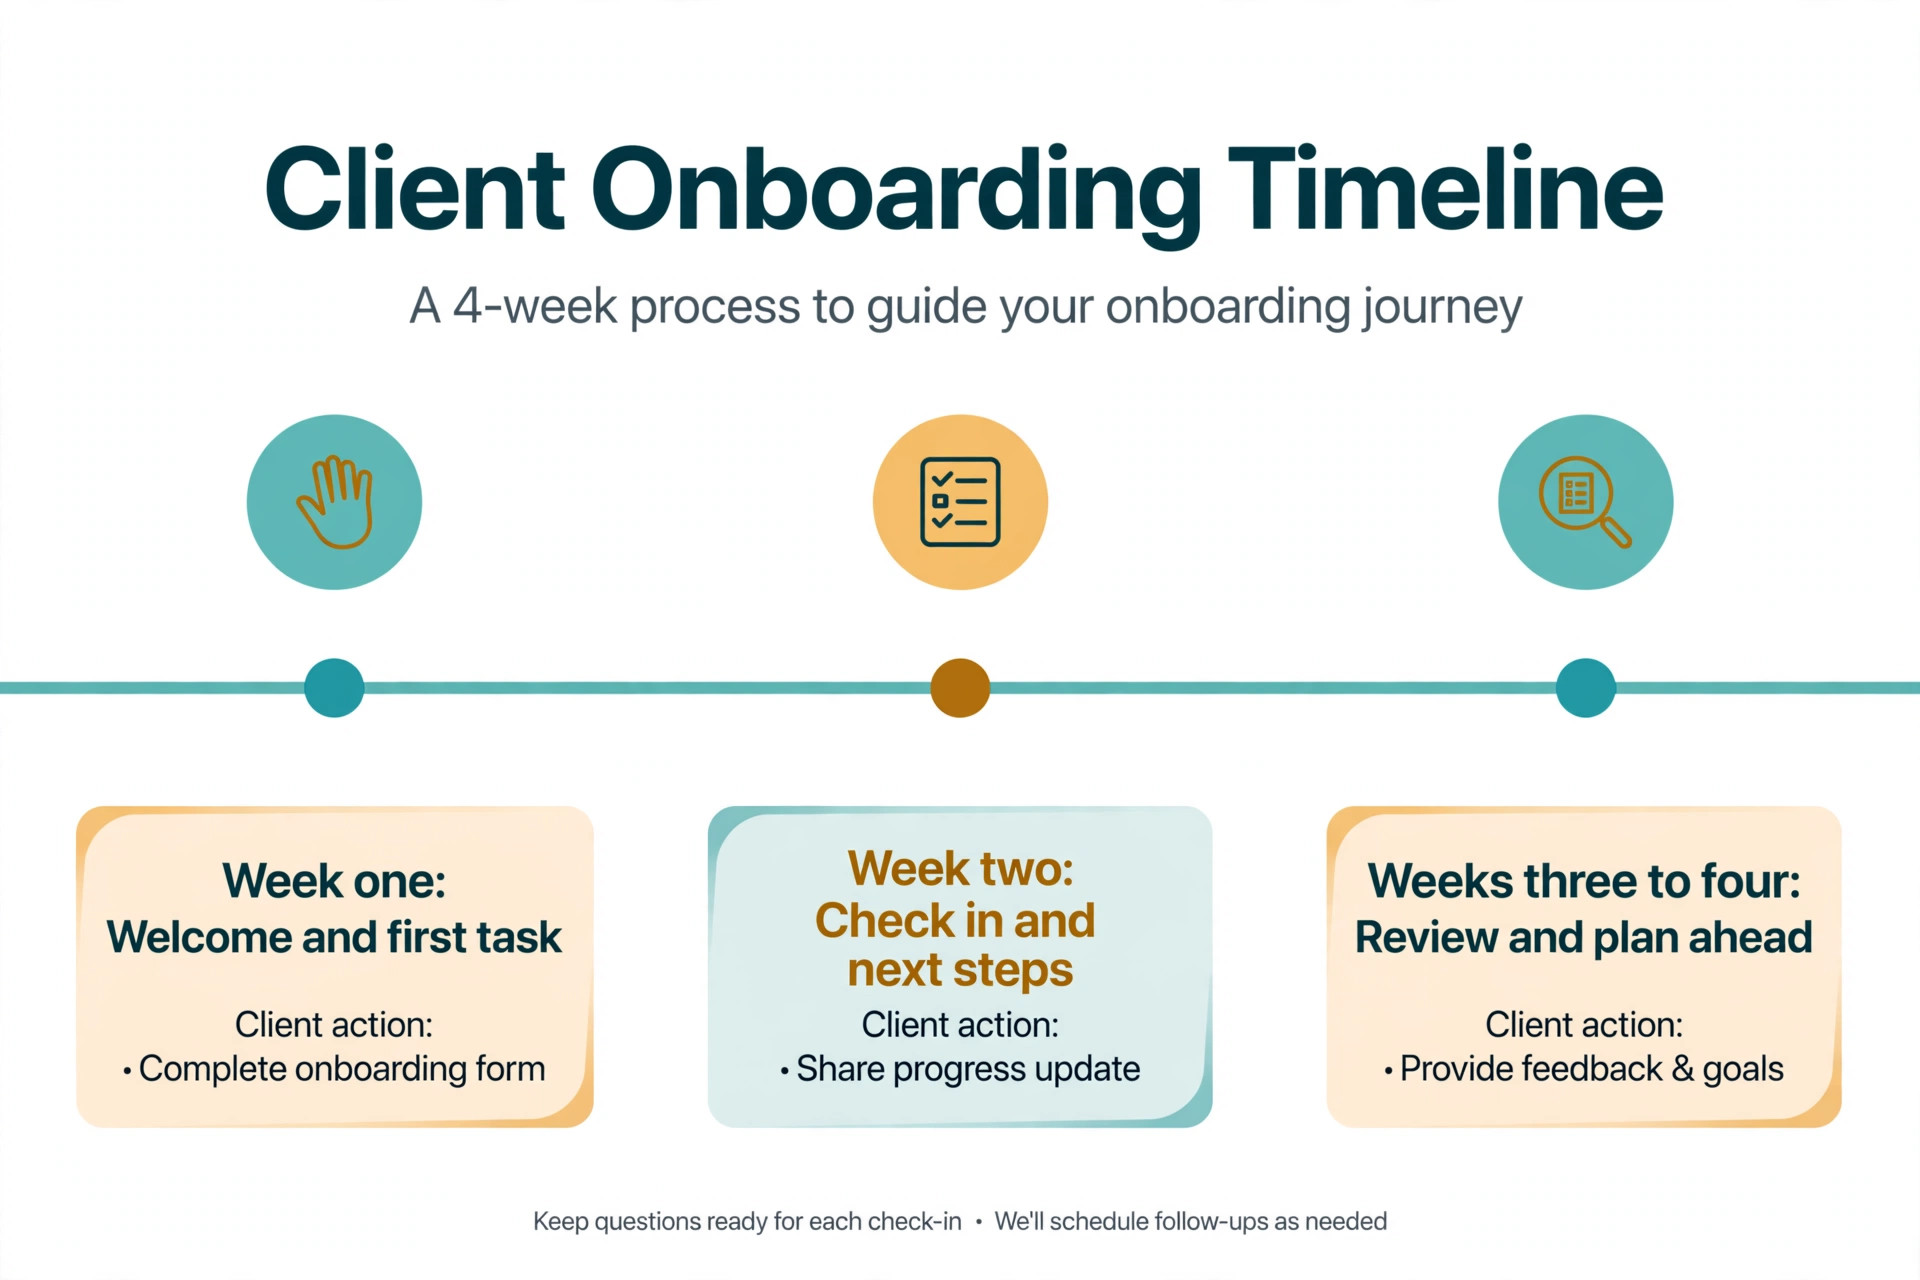
The fourth section is the first month timeline. Show what happens in week one, week two, and weeks three to four, with dates where you can give them. A dated plan calms clients far more than a vague promise that work is underway. Even a simple three-row timeline gives the client a sense of progress before any deliverable arrives.
The fifth section covers how you work together. Explain how to give feedback, how many feedback rounds are included, how long approvals take, and where files live. Feedback rules are where many relationships strain, because clients assume unlimited revisions and providers assume one quick sign-off. State the rule kindly and early, and most friction disappears.
The sixth section covers money in plain terms. State invoice timing, payment terms, and who to contact about billing. Do not hide payment detail at the back of the packet. Clients respect a business that states its terms clearly, and your cash flow improves when billing questions are answered before the first invoice lands.
The seventh section is the client task list. Give the client one clear first task, plus a short list of anything else you need in the first week. One first task matters more than a long list, because a client who sees ten tasks on day one often does none of them. Order the list by what blocks your work, and say why each item matters.
The eighth section is the questions section. Answer the five questions every new client asks in your business, and give a single contact route for anything else. A short questions section can cut support emails sharply, because clients check it before they write to you.
How to Create a Client Welcome Packet Small Business Clients Will Read in Seven Steps
Building the packet is a one-time project, and then it becomes a repeatable send for every new client. Follow these seven steps in order, and resist the urge to design before the words are right.

Step One. Gather the Real First-Week Questions
Start by listing the questions your last ten new clients actually asked in their first week. Check your sent emails, your messages, and your call notes, and write down the repeated questions. Those questions are the packet outline, because they show where clients feel lost. If three clients asked how to send large files, the packet needs a file section. If none asked about your company history, that section can go.
This step also reveals which answers your team gives inconsistently. When two team members answer the same question differently, the packet is the place to settle on one answer. Write the agreed answer once, and let everyone point to it.
Step Two. Write the Scope Reminder From the Signed Agreement
Pull the deliverables, dates, and terms from the signed proposal or contract, and restate them in short sentences. Do not copy contract paragraphs into the packet. Translate them into plain language, and keep the contract as the reference for full detail. If the proposal and the packet disagree, the client will trust neither, so check the packet against the signed document before you send it.
Include the start date, the first milestone, and what the client will receive first. Those three facts answer the most common early question, which is whether work has actually started. A client who can see a date and a deliverable will wait patiently. A client who sees neither will chase you.
Step Three. Name People, Roles, and Response Times
Write one line per person that says who they are, what they handle, and how to reach them. Then state your response times honestly. If you answer emails within one business day, say so. If you do not check messages at weekends, say that too, kindly. A stated response time that you meet builds more trust than a promise of instant replies that you break.
Response times also protect your team. When clients know that urgent matters go to one channel and routine questions go to another, they use the right channel, and your team spends less time triaging. Put the urgent route in the people section, not buried at the end.
Step Four. Map the First Month With Dates
Build a simple timeline with three blocks, which are week one, week two, and weeks three to four. For each block, name what you will do, what the client will receive, and what you need from the client. Use real dates where possible, and use week labels where exact dates depend on client input. A timeline without dates is a wish list. A timeline with dates is a plan.
Leave room in the timeline for client input. If a deliverable needs client approval before the next step, show that approval as its own step with its own date. Clients who can see their own role in the timeline take that role more seriously, and approvals arrive faster.
Step Five. Write the Feedback and File Rules
Feedback rules should cover four points, which are where to give feedback, how many rounds are included, how long each round takes, and what counts as approval. State each point in one sentence. Clients who understand the feedback process give clearer, faster feedback, and projects move instead of stalling on vague comments.
File rules should cover where files live, what format you prefer, and how to send large files. Name the tool you use, and give a single link or location. When files arrive in five places, work gets lost, and the packet is the cheapest place to fix that habit.
Step Six. Add Billing, Boundaries, and the Questions Section
Write billing in plain language, with invoice timing, payment terms, and a billing contact. Then add boundaries that protect the work, such as meeting booking, change requests, and pause procedures. Boundaries written kindly at the start feel professional. Boundaries discovered mid-project feel like conflict.
Finish with the questions section, built from the real questions you gathered in step one. Five well-chosen questions beat fifteen generic ones, because clients read short sections and skip long ones. Update this section every few months as new questions appear.
Step Seven. Design Lightly, Test With One Client, Then Standardise
Design should serve reading, not impress. Use your logo, your colours, and clear headings, and keep pages uncluttered. A packet that looks good but reads badly has failed. Test the draft with one real new client, and ask what was unclear or missing. Fix those points, then save the packet as your standard template with personalised fields marked clearly.
Standardise the send as well as the document. Decide who sends the packet, when it goes out, and what message goes with it. A packet that depends on one person remembering to send it will go out late. A packet tied to a checklist step goes out every time.
The Welcome Packet Template You Can Copy
Use this template as the skeleton of your packet, and personalise the bracketed fields for each client. It is the working answer to how to create a client welcome packet small business clients can follow without help. Keep the order, because the order follows the client journey from welcome to first action.
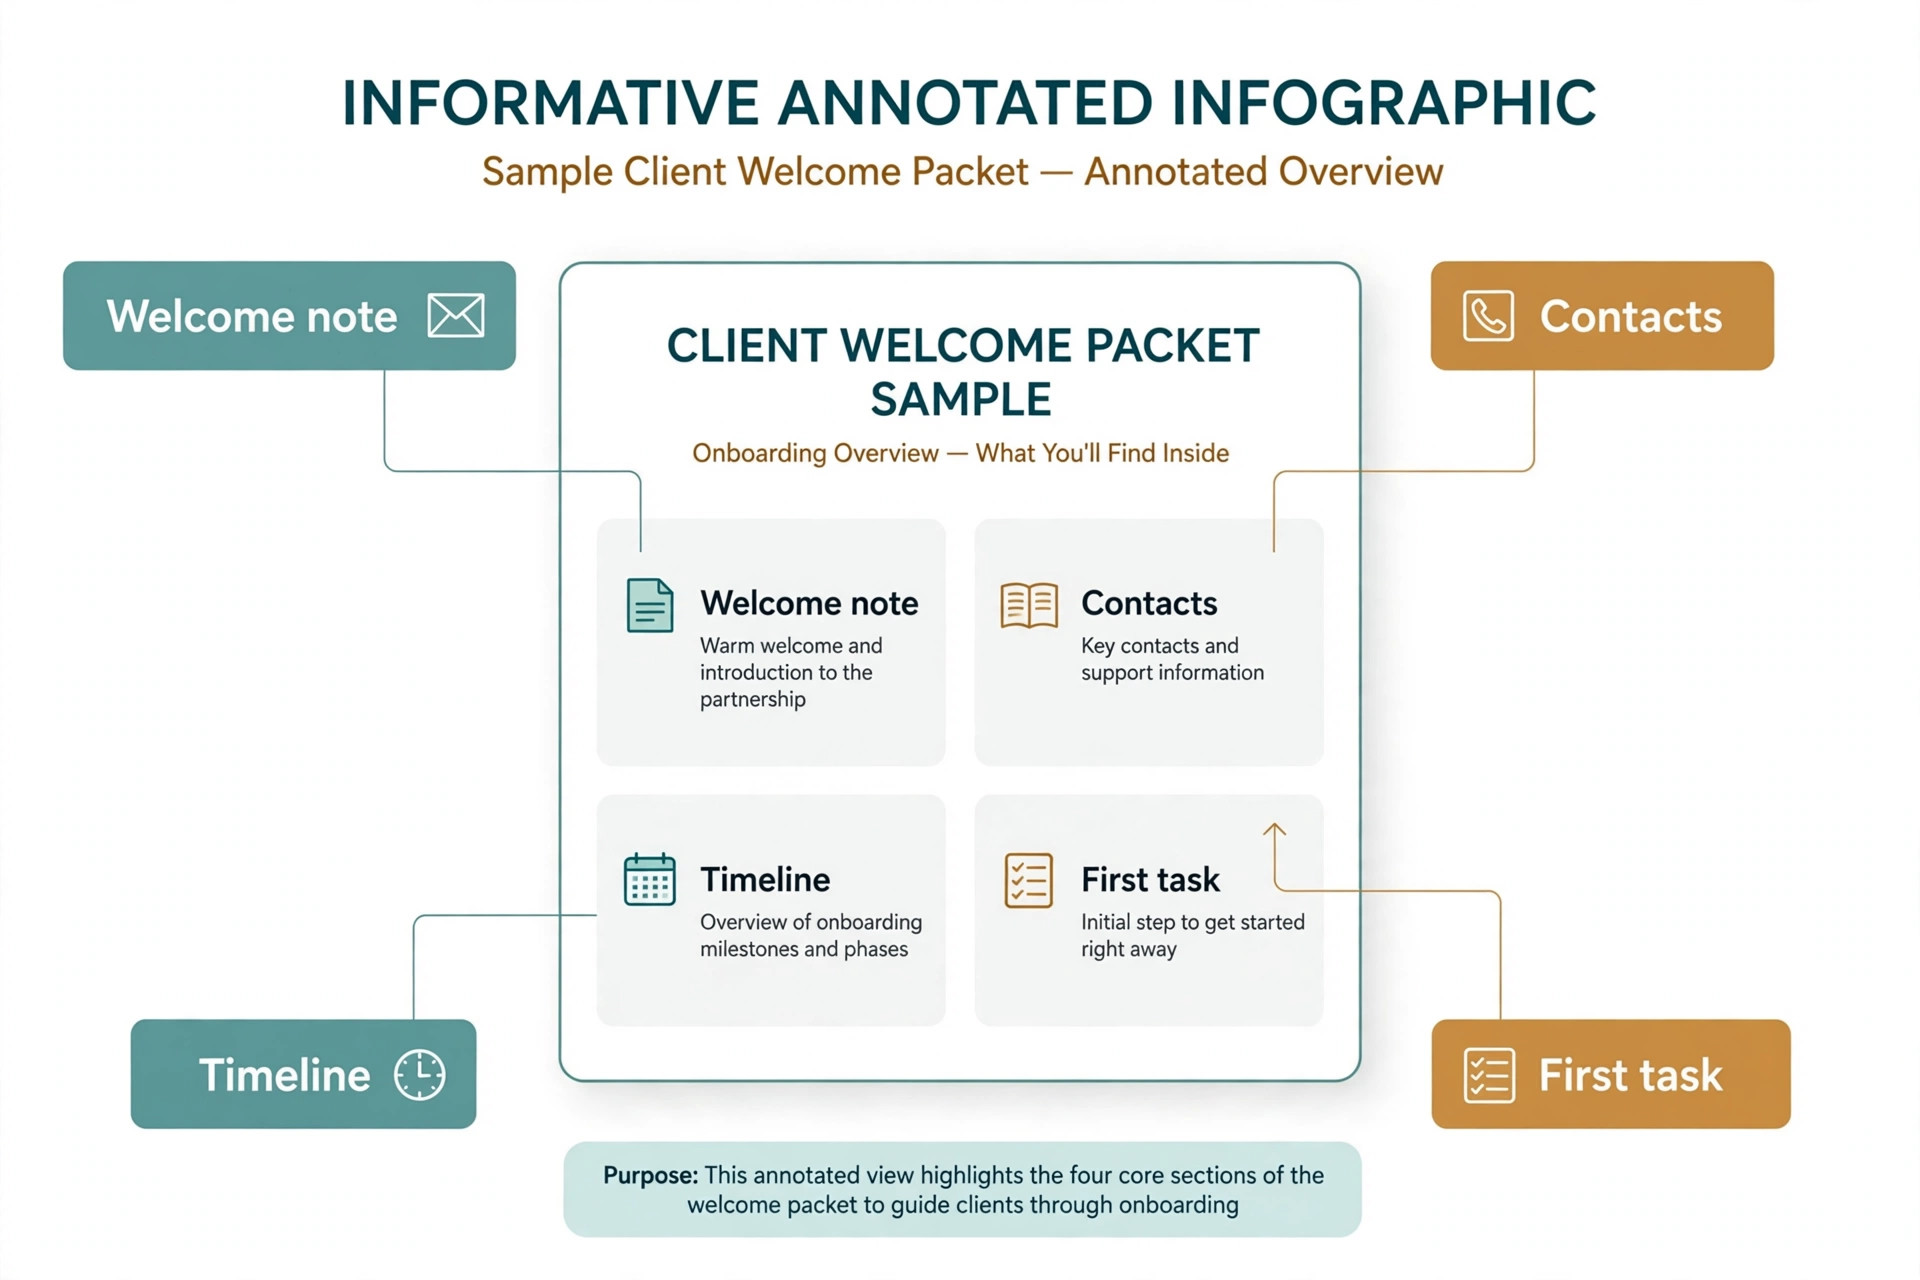
Welcome note. Thank the client by name, name the work you will do together, and say what happens first. Keep it to three sentences, and write it fresh for each client rather than reusing the same paragraph for everyone.
Your team. List the main contact with role and contact route, plus a billing contact and an urgent route if those differ. One line per person is enough, and a photo helps clients remember who they spoke to.
What we agreed. Restate deliverables, start date, and first milestone in short sentences. Point to the signed agreement for full terms, and do not repeat legal language here.
Your first month. Show week one, week two, and weeks three to four, with dates, deliverables, and client actions for each block. Mark approval steps clearly, so the client knows when their input is needed.
How we work together. Explain feedback rounds, approval meaning, file location and format, meeting booking, and response times. Keep each rule to one or two sentences, and use a friendly tone that still states the rule plainly.
Money and billing. State invoice timing, payment terms, and the billing contact. Add a line on what happens if a payment is late, written as a process note rather than a warning.
What we need from you. List one first task, then the remaining first-week items in order of urgency. Say why each item blocks your work, and give a deadline for each one.
Questions clients ask. Answer five real questions from your business, and give one contact route for anything else. End with a short closing line and the next meeting date if one is already booked.
Onboarding Checklist for Your Team
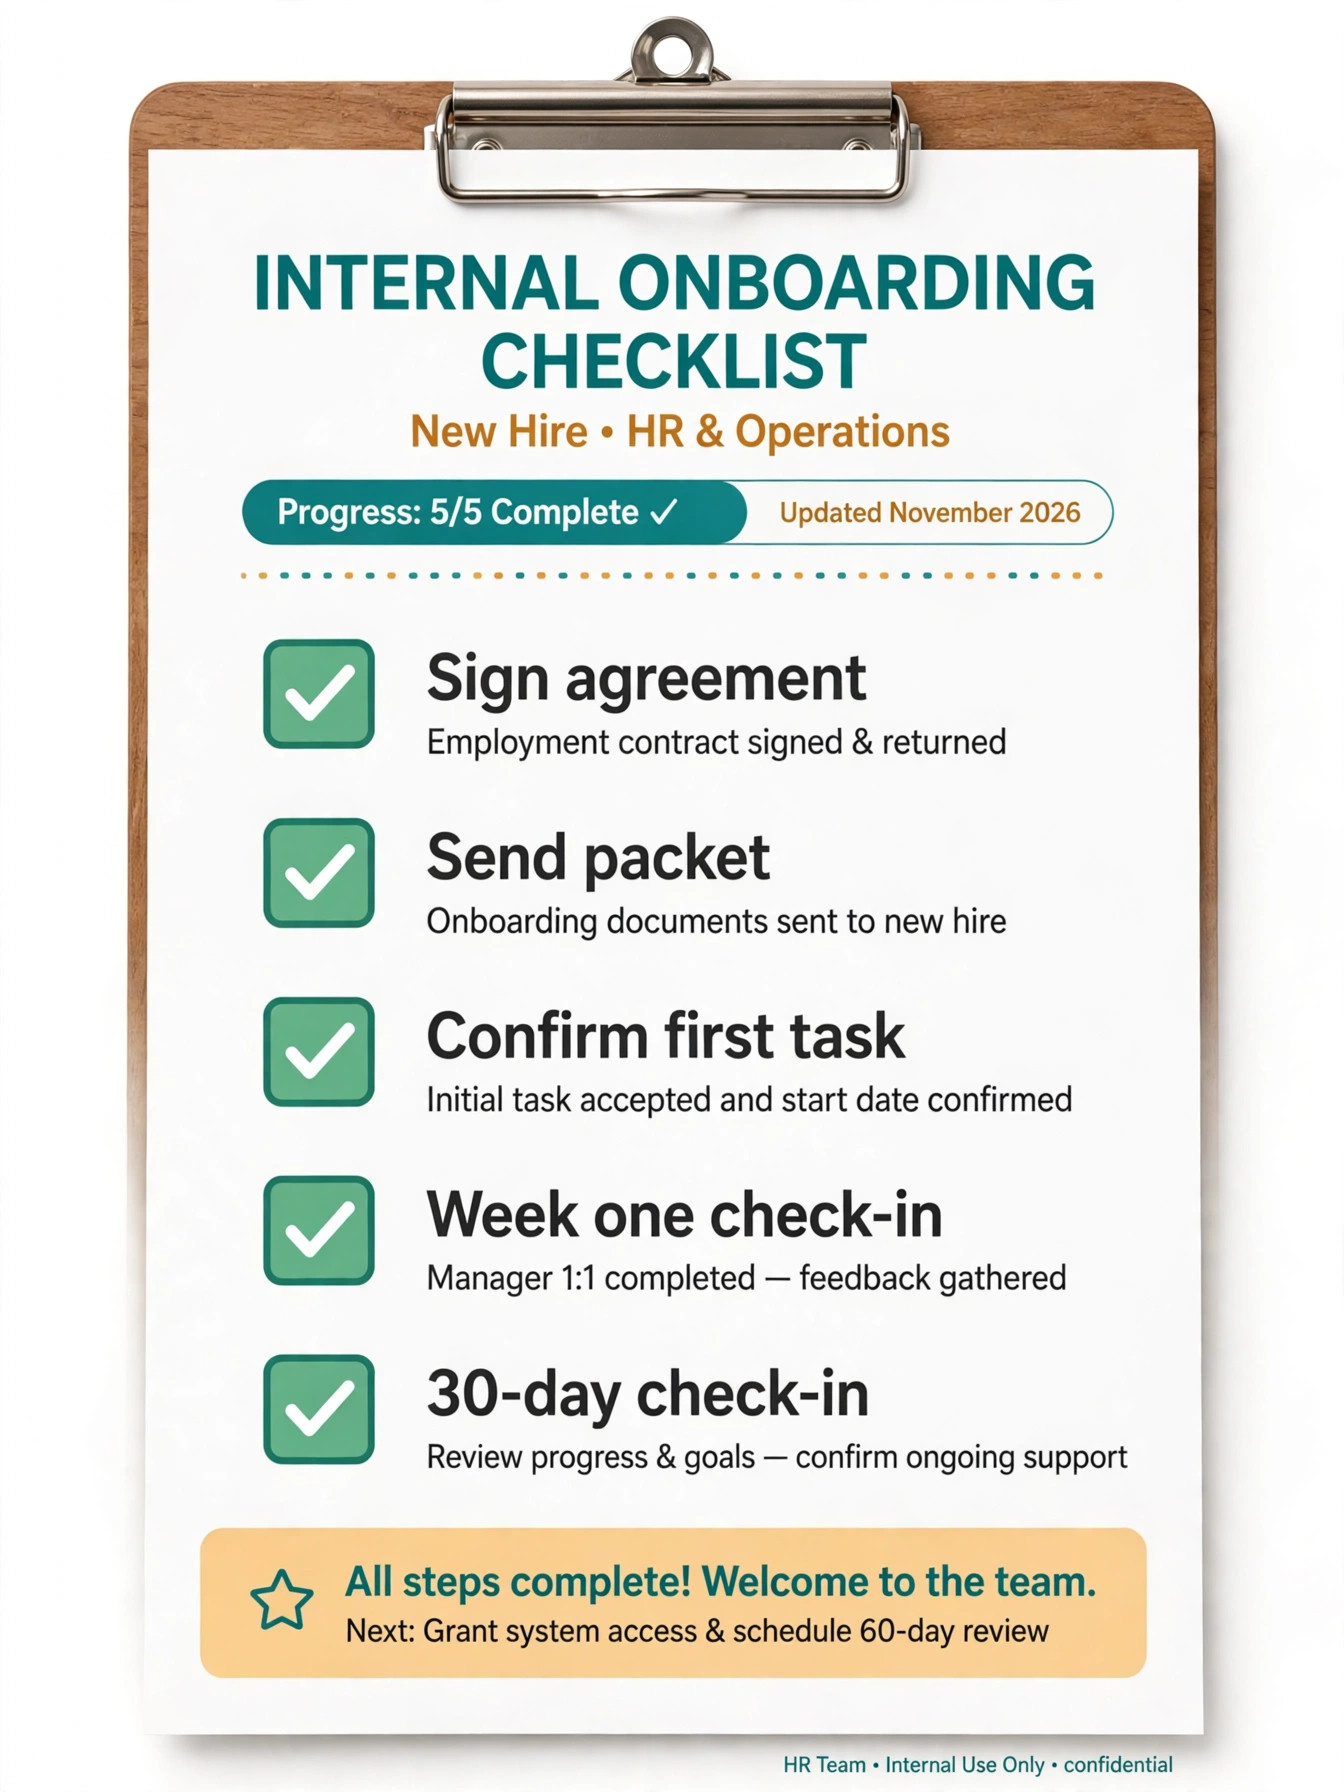
The packet is the client-facing half of onboarding. The checklist below is the internal half, and it makes sure the packet actually goes out on time and the work behind it is ready.
– Confirm the signed agreement and the first milestone date before drafting anything personalised. – Personalise the welcome note, the scope reminder, and the timeline dates for this client. – Create the client folder, the shared file location, and the communication channel, and test that the client can access them. – Send the packet within one business day of signing, with a short message that names the one first task. – Book the kickoff call, send the agenda, and attach the packet link again in the invitation.
– Confirm the billing contact and the invoice timing with the client, and record both in your system. – Check at the end of week one whether the first task arrived, and follow up once with a helpful reminder if it has not. – Hold a 30-day check-in, review what went well, and update the packet template with any question that came up twice.
A checklist that lives in your project tool beats one that lives in memory. Assign each step an owner and a due date, and review the checklist after every onboarding until sending the packet becomes routine. The goal is a first week that feels calm for the client and controlled for your team, and that feeling comes from repeatable steps, not from heroics.
Format and Delivery Choices That Affect Whether Clients Read It
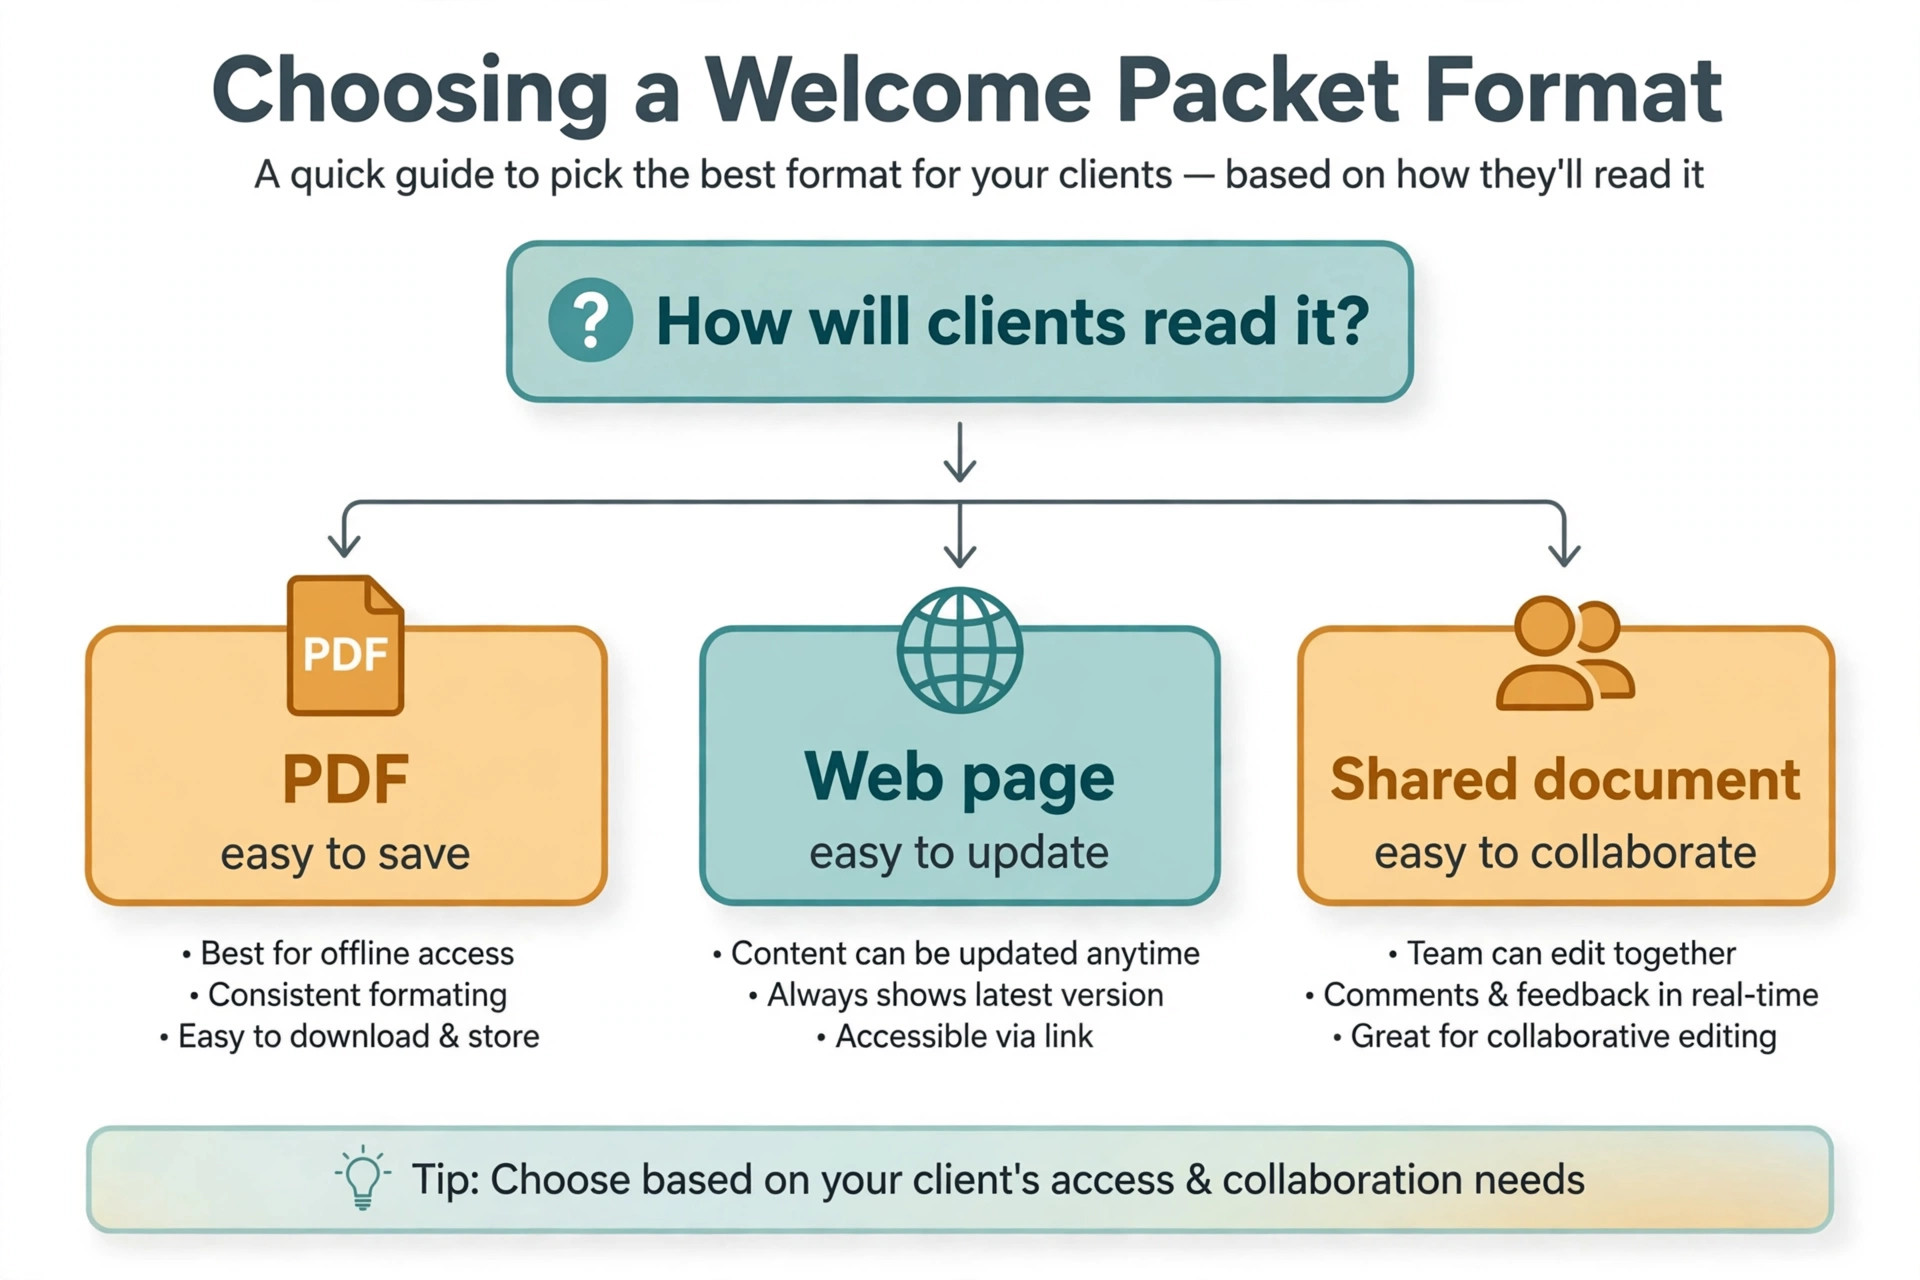
A PDF works well when the packet needs to be saved, printed, or forwarded inside a client company. Format choice is a practical part of how to create a client welcome packet small business clients actually open on a phone. A web page works well when the packet contains links to tools, folders, and booking pages, because links stay clickable and updates do not require resending a file. A shared document works well when the timeline or task list will change during the first month. Choose the format that fits how your clients actually work, and do not offer three versions that drift out of sync.
Length is a delivery choice too. A packet of four to six pages usually covers the eight sections without overwhelming the reader. If your draft runs past eight pages, cut ruthlessly, starting with company history and generic advice. Clients do not need your full story on day one. They need to know what happens next.
Send timing matters as much as content. The packet should arrive within one business day of signing, while enthusiasm is high and before the client starts guessing about next steps. A packet that arrives two weeks late reads as an afterthought, even if the content is excellent. Pair the send with a short message, not a long email that repeats the packet. The message should say welcome, name the first task, and link the packet.
Accessibility is easy to overlook and costly to ignore. Use readable type, clear headings, and enough contrast for phone reading, because many clients will open the packet on a phone first. Test the packet on a phone before you standardise it, and fix any table or image that breaks on a small screen.
Mistakes That Make a Good Packet Useless
The most common mistake is writing the packet for yourself instead of for the client. Most of these mistakes trace back to rushing how to create a client welcome packet small business owners build in a single afternoon without testing it. Internal jargon, tool names without explanation, and process detail that only your team needs will make clients stop reading. Read the draft as a client who knows nothing about your internal systems, and cut anything that needs insider knowledge to understand.
The second mistake is sending a generic packet with no personalisation. A packet that opens with a placeholder name or a wrong deliverable destroys trust faster than no packet at all. Personalise the welcome note, the scope reminder, and the timeline, and proofread those fields before every send. A template saves time only when the personalised fields are checked.
The third mistake is burying the first task. If the client has to read six pages to learn what you need from them, the task will wait. Put the first task in the send message and in the packet summary, so the client can act before reading the whole document. Action first, detail second.
The fourth mistake is letting the packet go stale. Prices change, tools change, contacts change, and a packet with an old contact or a dead link looks careless. Review the template every quarter, and update it after any change to your process, your tools, or your team. Assign one owner for that review, or it will not happen.
The fifth mistake is treating the packet as the whole onboarding. The packet supports the kickoff call, the first deliverable, and the 30-day check-in. It does not replace them. Clients remember how the first call felt and whether the first deliverable arrived on time far more than they remember the packet design. Use the packet to make those moments smoother, not to stand in for them.
Adapting the Packet by Business Type
A service business with project work, such as design, marketing, or consulting, should weight the packet toward scope, feedback rounds, and milestones, because those are where project relationships strain. Show the milestone plan clearly, and state what counts as a revision versus a new request. That one distinction prevents many billing disputes.
A recurring service business, such as cleaning, maintenance, or bookkeeping, should weight the packet toward schedule, access, and billing rhythm. Clients need to know when you arrive, how you access the site or the accounts, and when invoices go out. A recurring packet that nails the weekly rhythm will keep clients longer than a beautiful welcome letter.
A coaching or training business should weight the packet toward session logistics, preparation, and how progress will be tracked. Clients need to know how to book, how to reschedule, and what to prepare, plus how you will measure progress together. Clear logistics free the sessions themselves to focus on the work.
A productised service, where the offer is fixed and repeatable, can make the packet shorter and more standardised, because the scope rarely changes. In that case, invest the saved space in the questions section and the first-week task list, since those are the parts that still vary by client.
Whatever your type, keep the eight sections and change the weight, not the structure. A consistent structure lets your team build the packet faster, and lets returning clients find answers in a familiar place.
Measuring Whether the Packet Works
A packet that cannot be measured will slowly decay, because no one knows whether it helps. Measuring closes the loop on how to create a client welcome packet small business owners can improve quarter by quarter. Track four simple measures, and review them monthly for the first quarter after launch.
First, track time to first client task completion. If clients complete their first task faster after the packet launches, the packet is doing its main job. If the time does not move, the first task may be buried or unclear, and the packet needs a fix.
Second, track repeat questions in the first week. Count how many times new clients ask questions that the packet already answers. A falling count means clients are finding answers. A flat count means the packet is not being read, or the answers are hard to find.
Third, track kickoff call quality. Note whether clients arrive with the packet read, with questions prepared, and with their first task done. A kickoff that starts with orientation instead of progress is a sign the packet arrived too late or was too long.
Fourth, track 30-day satisfaction with a single question, which is whether the first month felt clear and organised. You do not need a long survey. One question, asked consistently, will show whether onboarding feels better over time. Pair that question with a request for one improvement, and use the answers to update the template.
Review the packet when any measure moves the wrong way for two months in a row. Small, regular updates beat a large rewrite once a year, and they keep the packet matched to the business as it changes.
Frequently Asked Questions
How long should a client welcome packet be?
Four to six pages covers the eight core sections for most small businesses, and a shorter packet beats a longer one when the choice is between completeness and readability. If your draft runs longer, cut company history and generic advice first, and keep the timeline, the contacts, and the first task. A packet that clients finish is worth more than a packet that covers everything.
Should a welcome packet be a PDF or a web page?
A PDF suits packets that clients save, print, or forward inside their company, while a web page suits packets full of links to tools, folders, and booking pages. A shared document suits packets whose timeline will change during the first month. Pick one primary format, keep it updated, and avoid maintaining three versions that drift apart.
When should the packet go out after signing?
Within one business day of signing is the right standard, while enthusiasm is high and before the client starts guessing about next steps. Pair the send with a short message that names the one first task and links the packet, rather than a long email that repeats the whole document. A late packet reads as an afterthought, even when the content is strong.
What is the difference between a welcome packet and a contract?
A contract sets legal terms, while a welcome packet explains how the work will run day to day, including contacts, timeline, feedback rules, and billing rhythm. The packet should point to the contract for full terms rather than repeating legal language, because repeated legal text makes clients stop reading. Keep the two documents separate, and check that they agree on dates and deliverables.
How often should the template be updated?
Review the template every quarter, and update it right away after any change to your process, your tools, your prices, or your team contacts. Assign one owner for that review, and add any question that new clients ask twice to the questions section. Small regular updates keep the packet accurate, while a yearly rewrite lets stale detail accumulate.
Can a solo business use the same packet structure?
Yes, and a solo business benefits even more, because the packet answers questions while you are busy delivering work. Use the same eight sections, name yourself as the main contact, and state response times honestly for a one-person operation. Clients respect a clear solo process far more than a packet that pretends a large team exists.
The Short Version to Act On This Week
Build the packet from real first-week questions, not from what you wish clients would ask. Cover the eight sections, lead with one clear first task, send it within one business day of signing, and support it with a kickoff call and a 30-day check-in. Then measure time to first task, repeat questions, and first-month clarity, and update the template every quarter. A welcome packet built that way is a small document with an outsized effect, because it turns a nervous new client into a confident one before the real work even starts.
That confidence is the payoff. For related onboarding reading, see the guide on how to write a welcome email sequence and the guide on how to write a client contract, plus the client offboarding checklist for the other end of the relationship.